basic knitting for beginers
things needed
- string, yarn, or even rope! yarn website it shouldent be hard to find string at your local store but in case you dont then the yarn site (or any yarn site) should be usefull


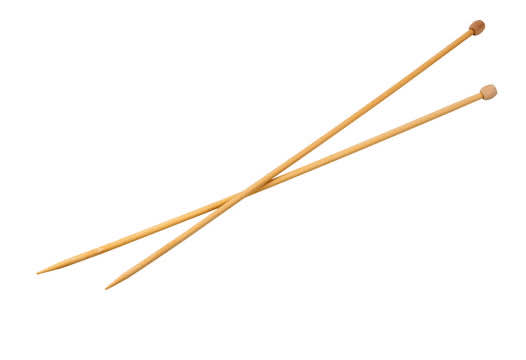
- knitting needles or mabye two mechanical pencils
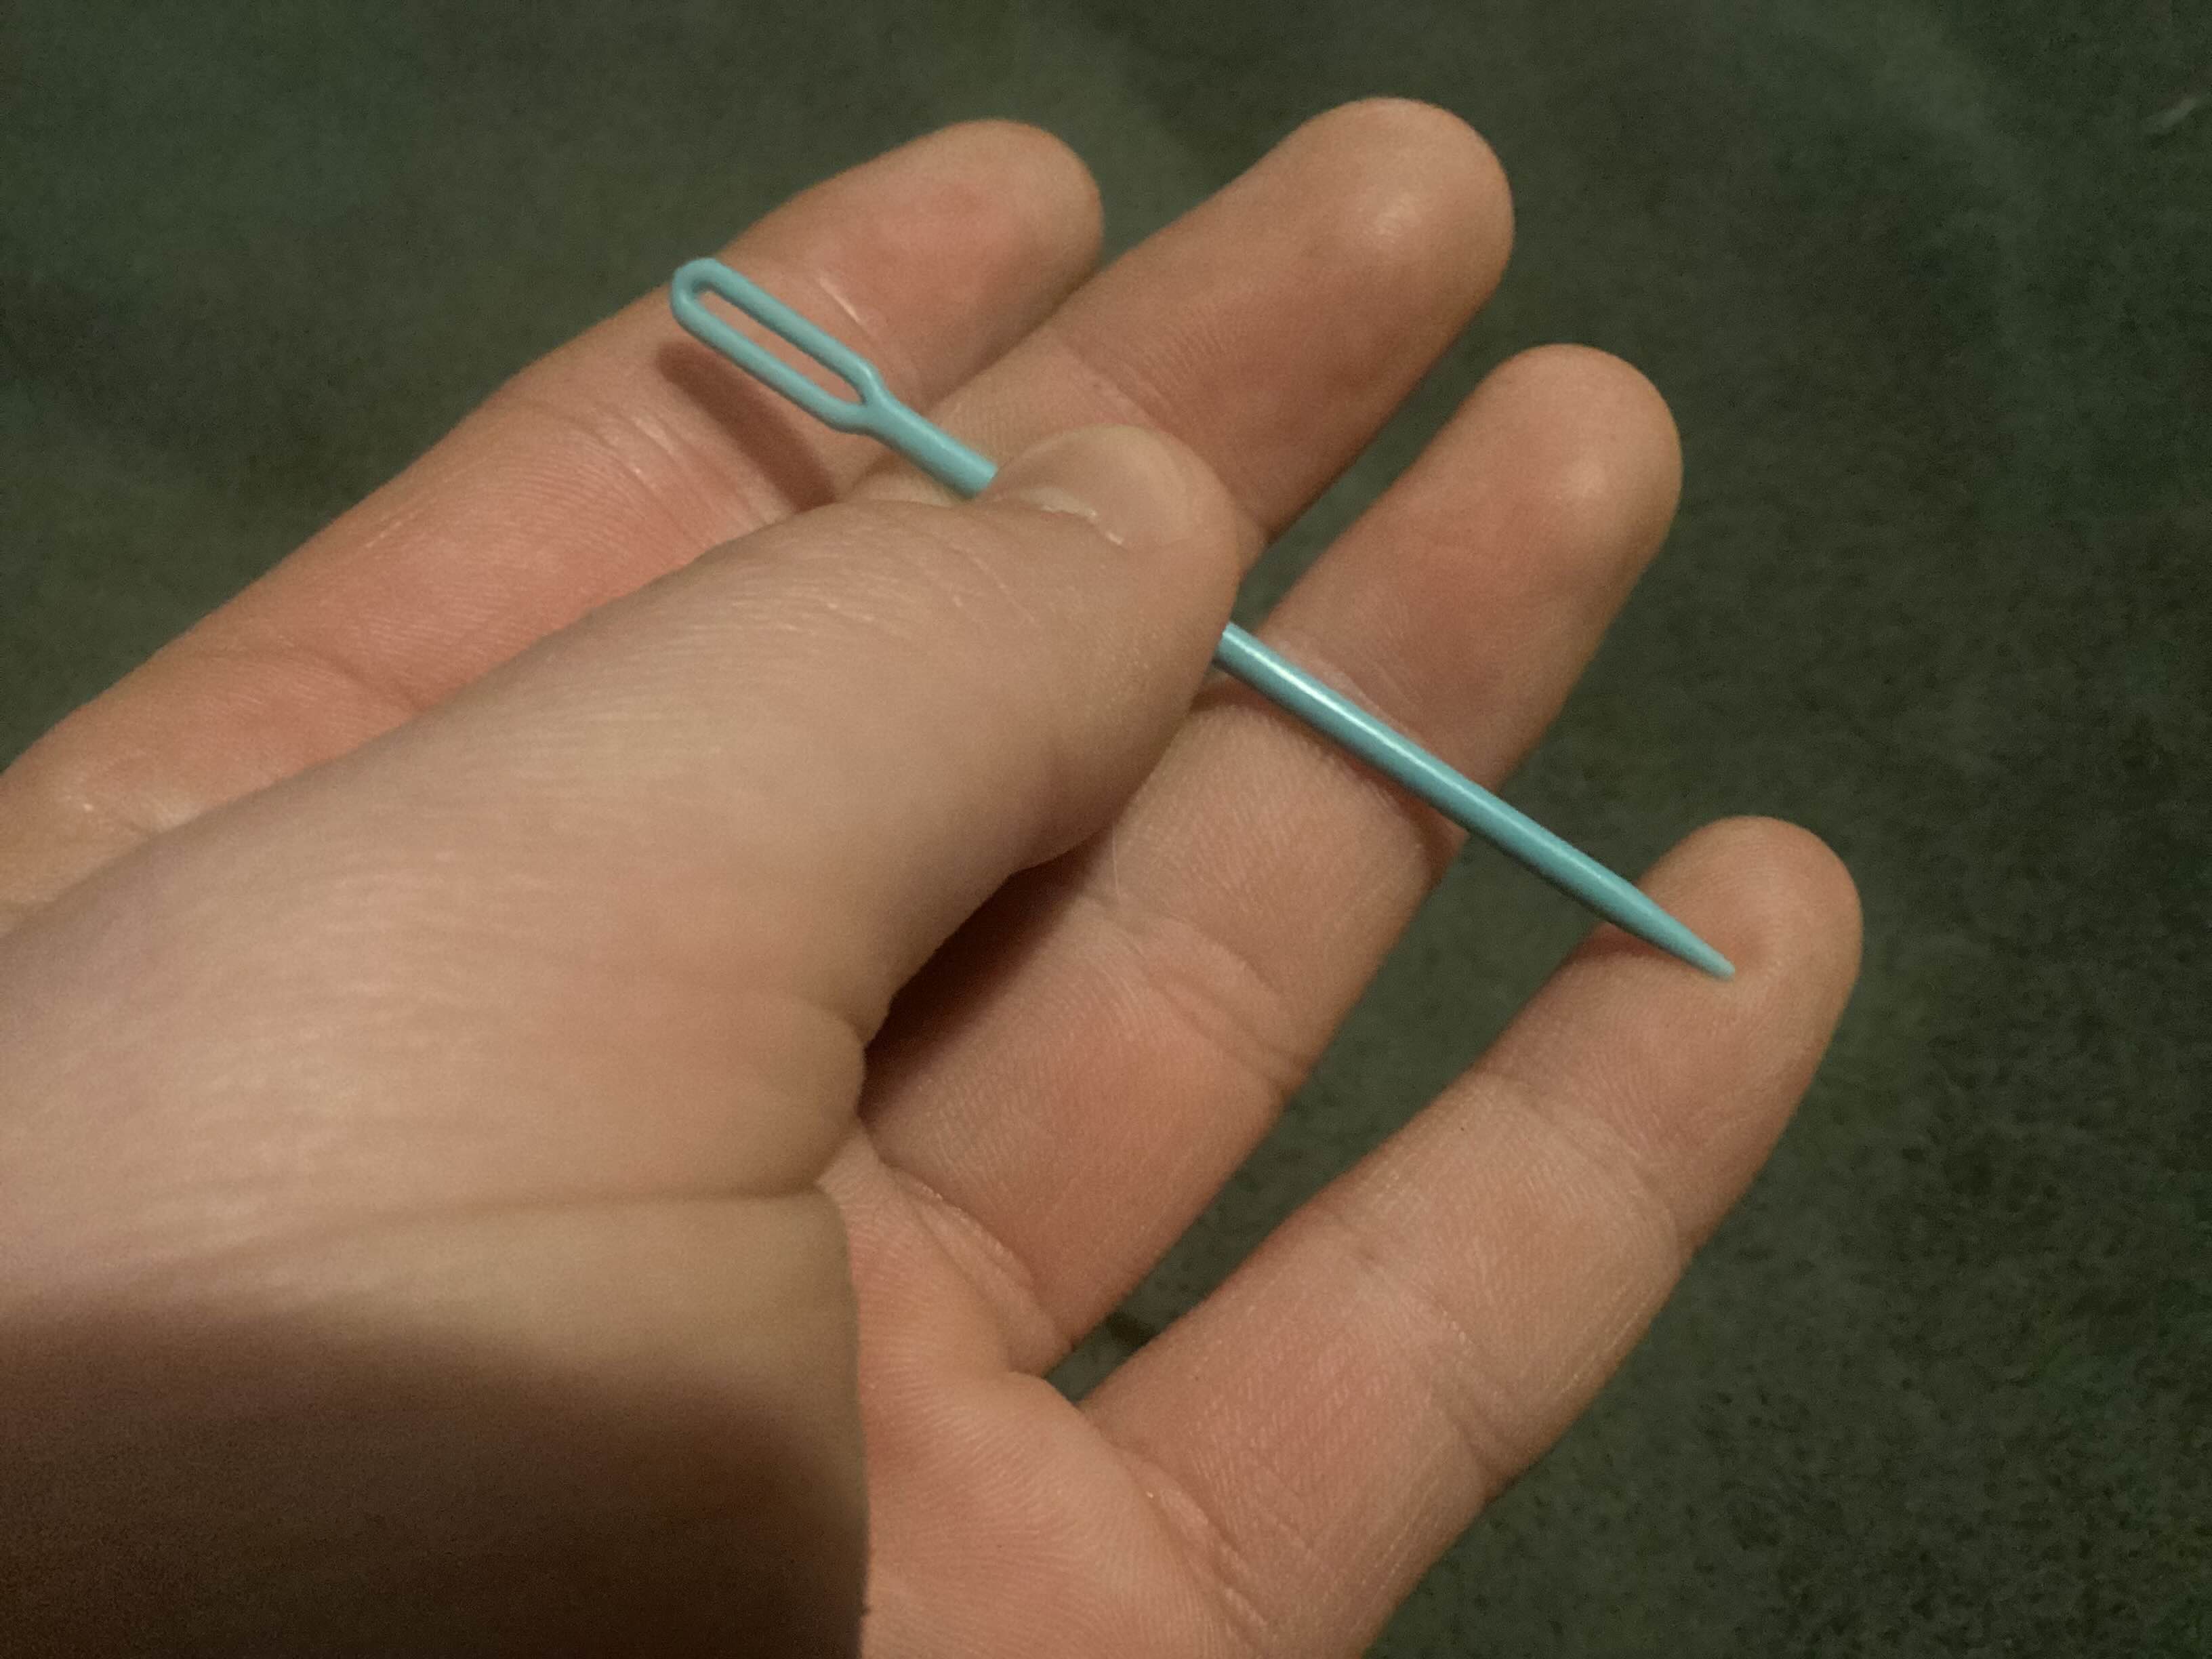
- *!!optional!!* you may need a big blunt and short sewing needle with an eye big enough for your material to fit through,to put peices of knitted cloth together(it should not be small and sharp but if it is make sure to have parental supervision or let them do it for you because small needles will hurt a lot!)
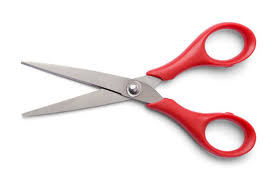
- A pair of sciccors (these are also dangerous I plead that you have adult supervision if you want to use any of these items listed). they will be used to separate the knitted peice form the rest of the string
how to actually knit (im right handed so if the left handed examples are'nt great thats why)
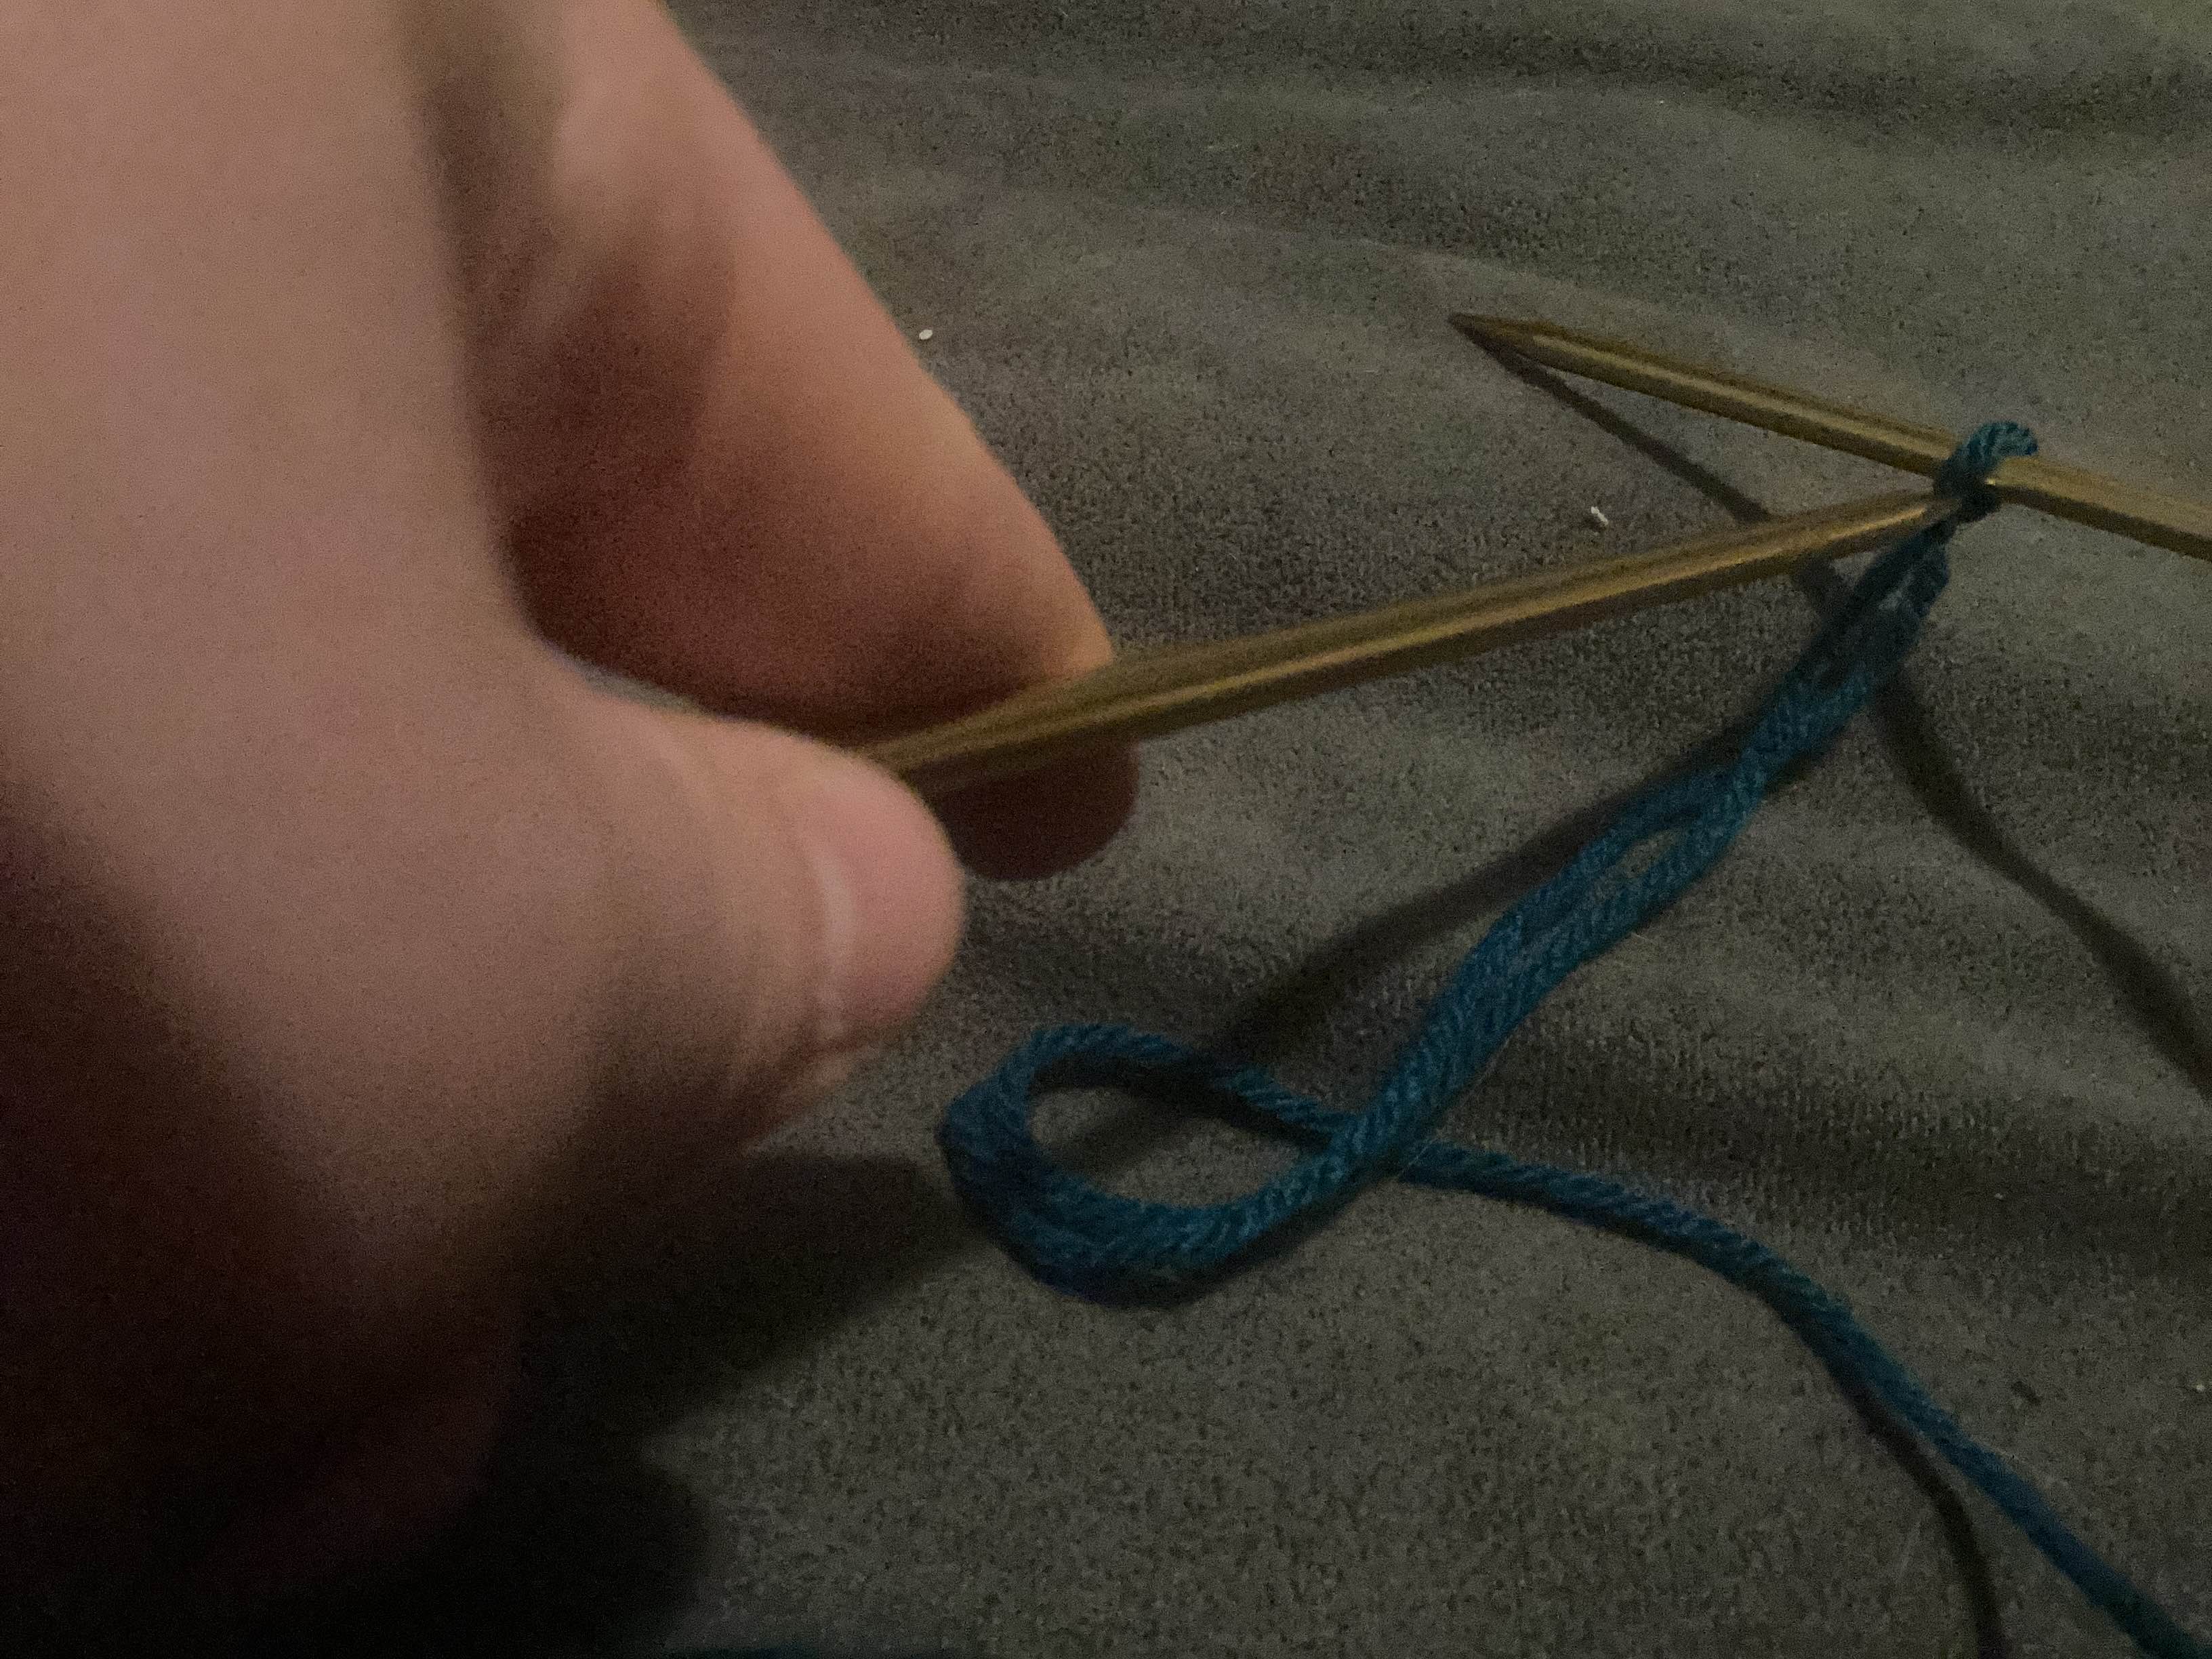
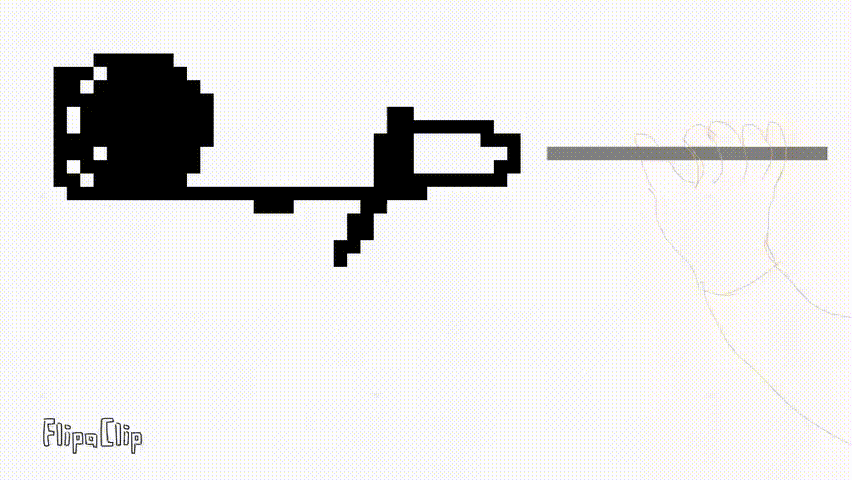
First you need to tie a slip knot(I call it a slipknot because if I say noose it sounds off-putting), here is a website to help with that(this text is a link)
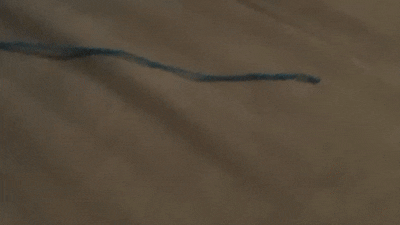
in case you dont want to click any links here is a recording I made of me tying it

what it should look like ↑
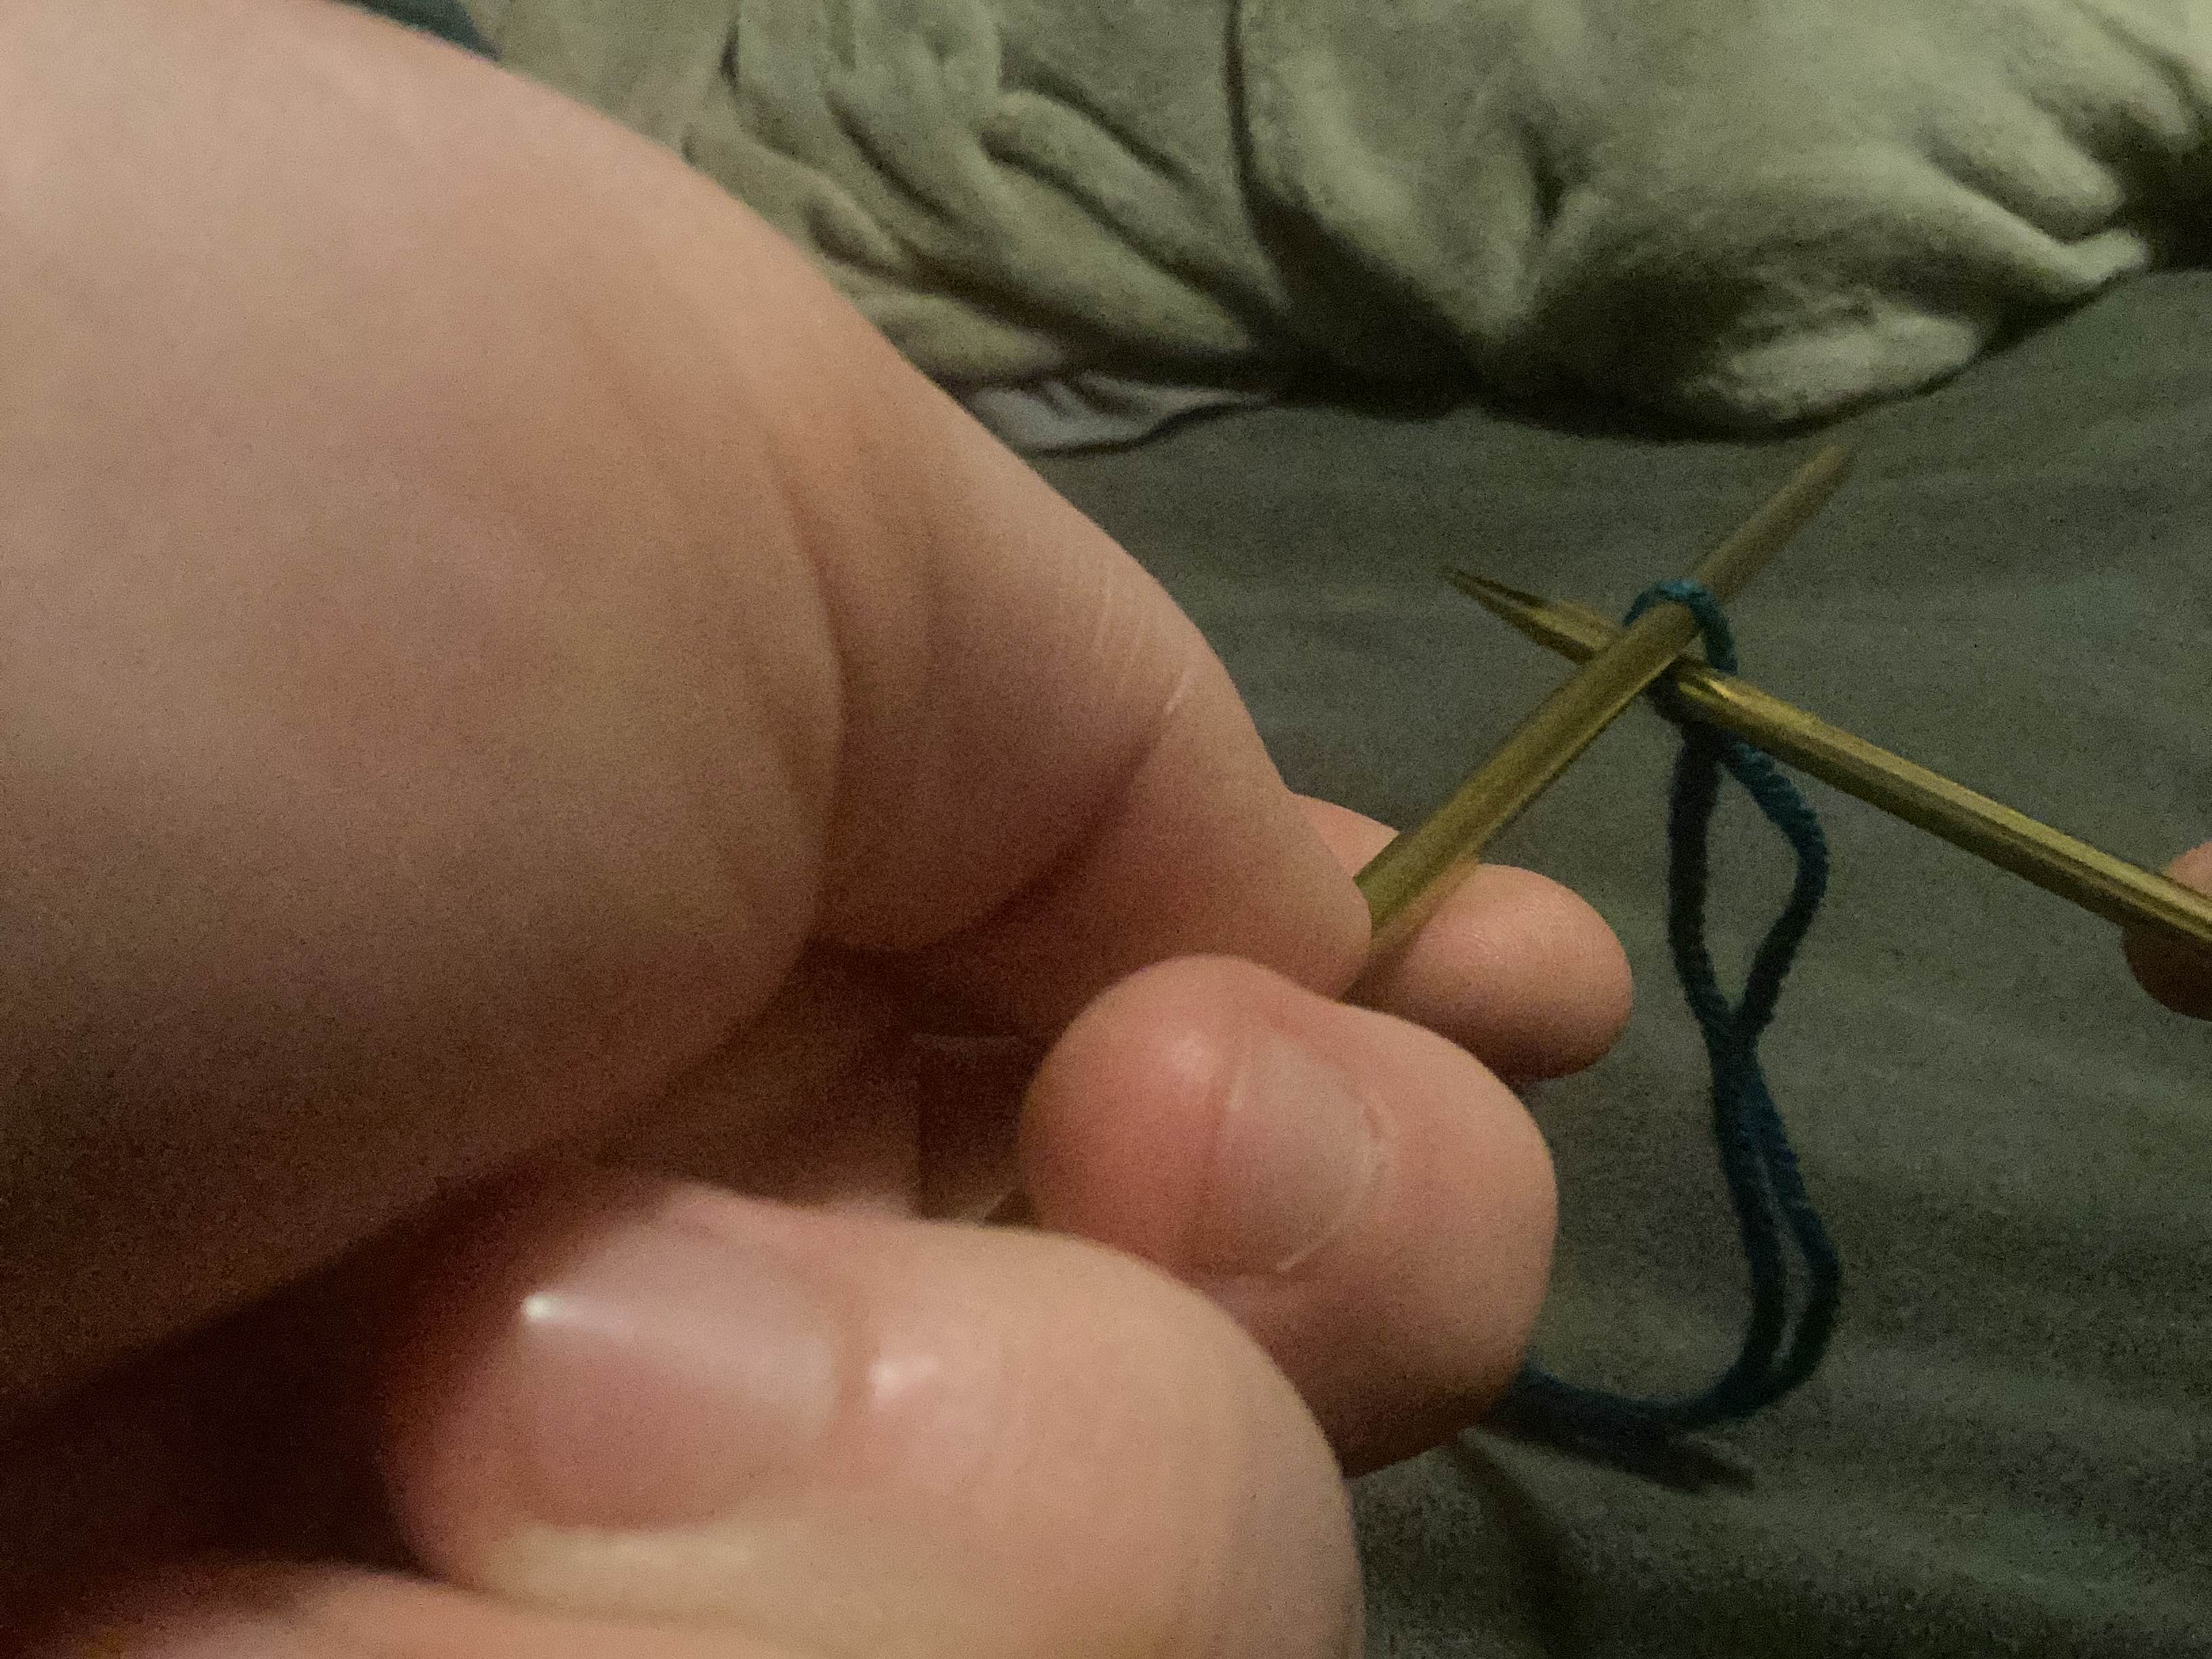
now put the slip knot loop on the needle and pull it enough to where it dosent slide off
 I made this animation but its a part of a bigger video that im still working on.
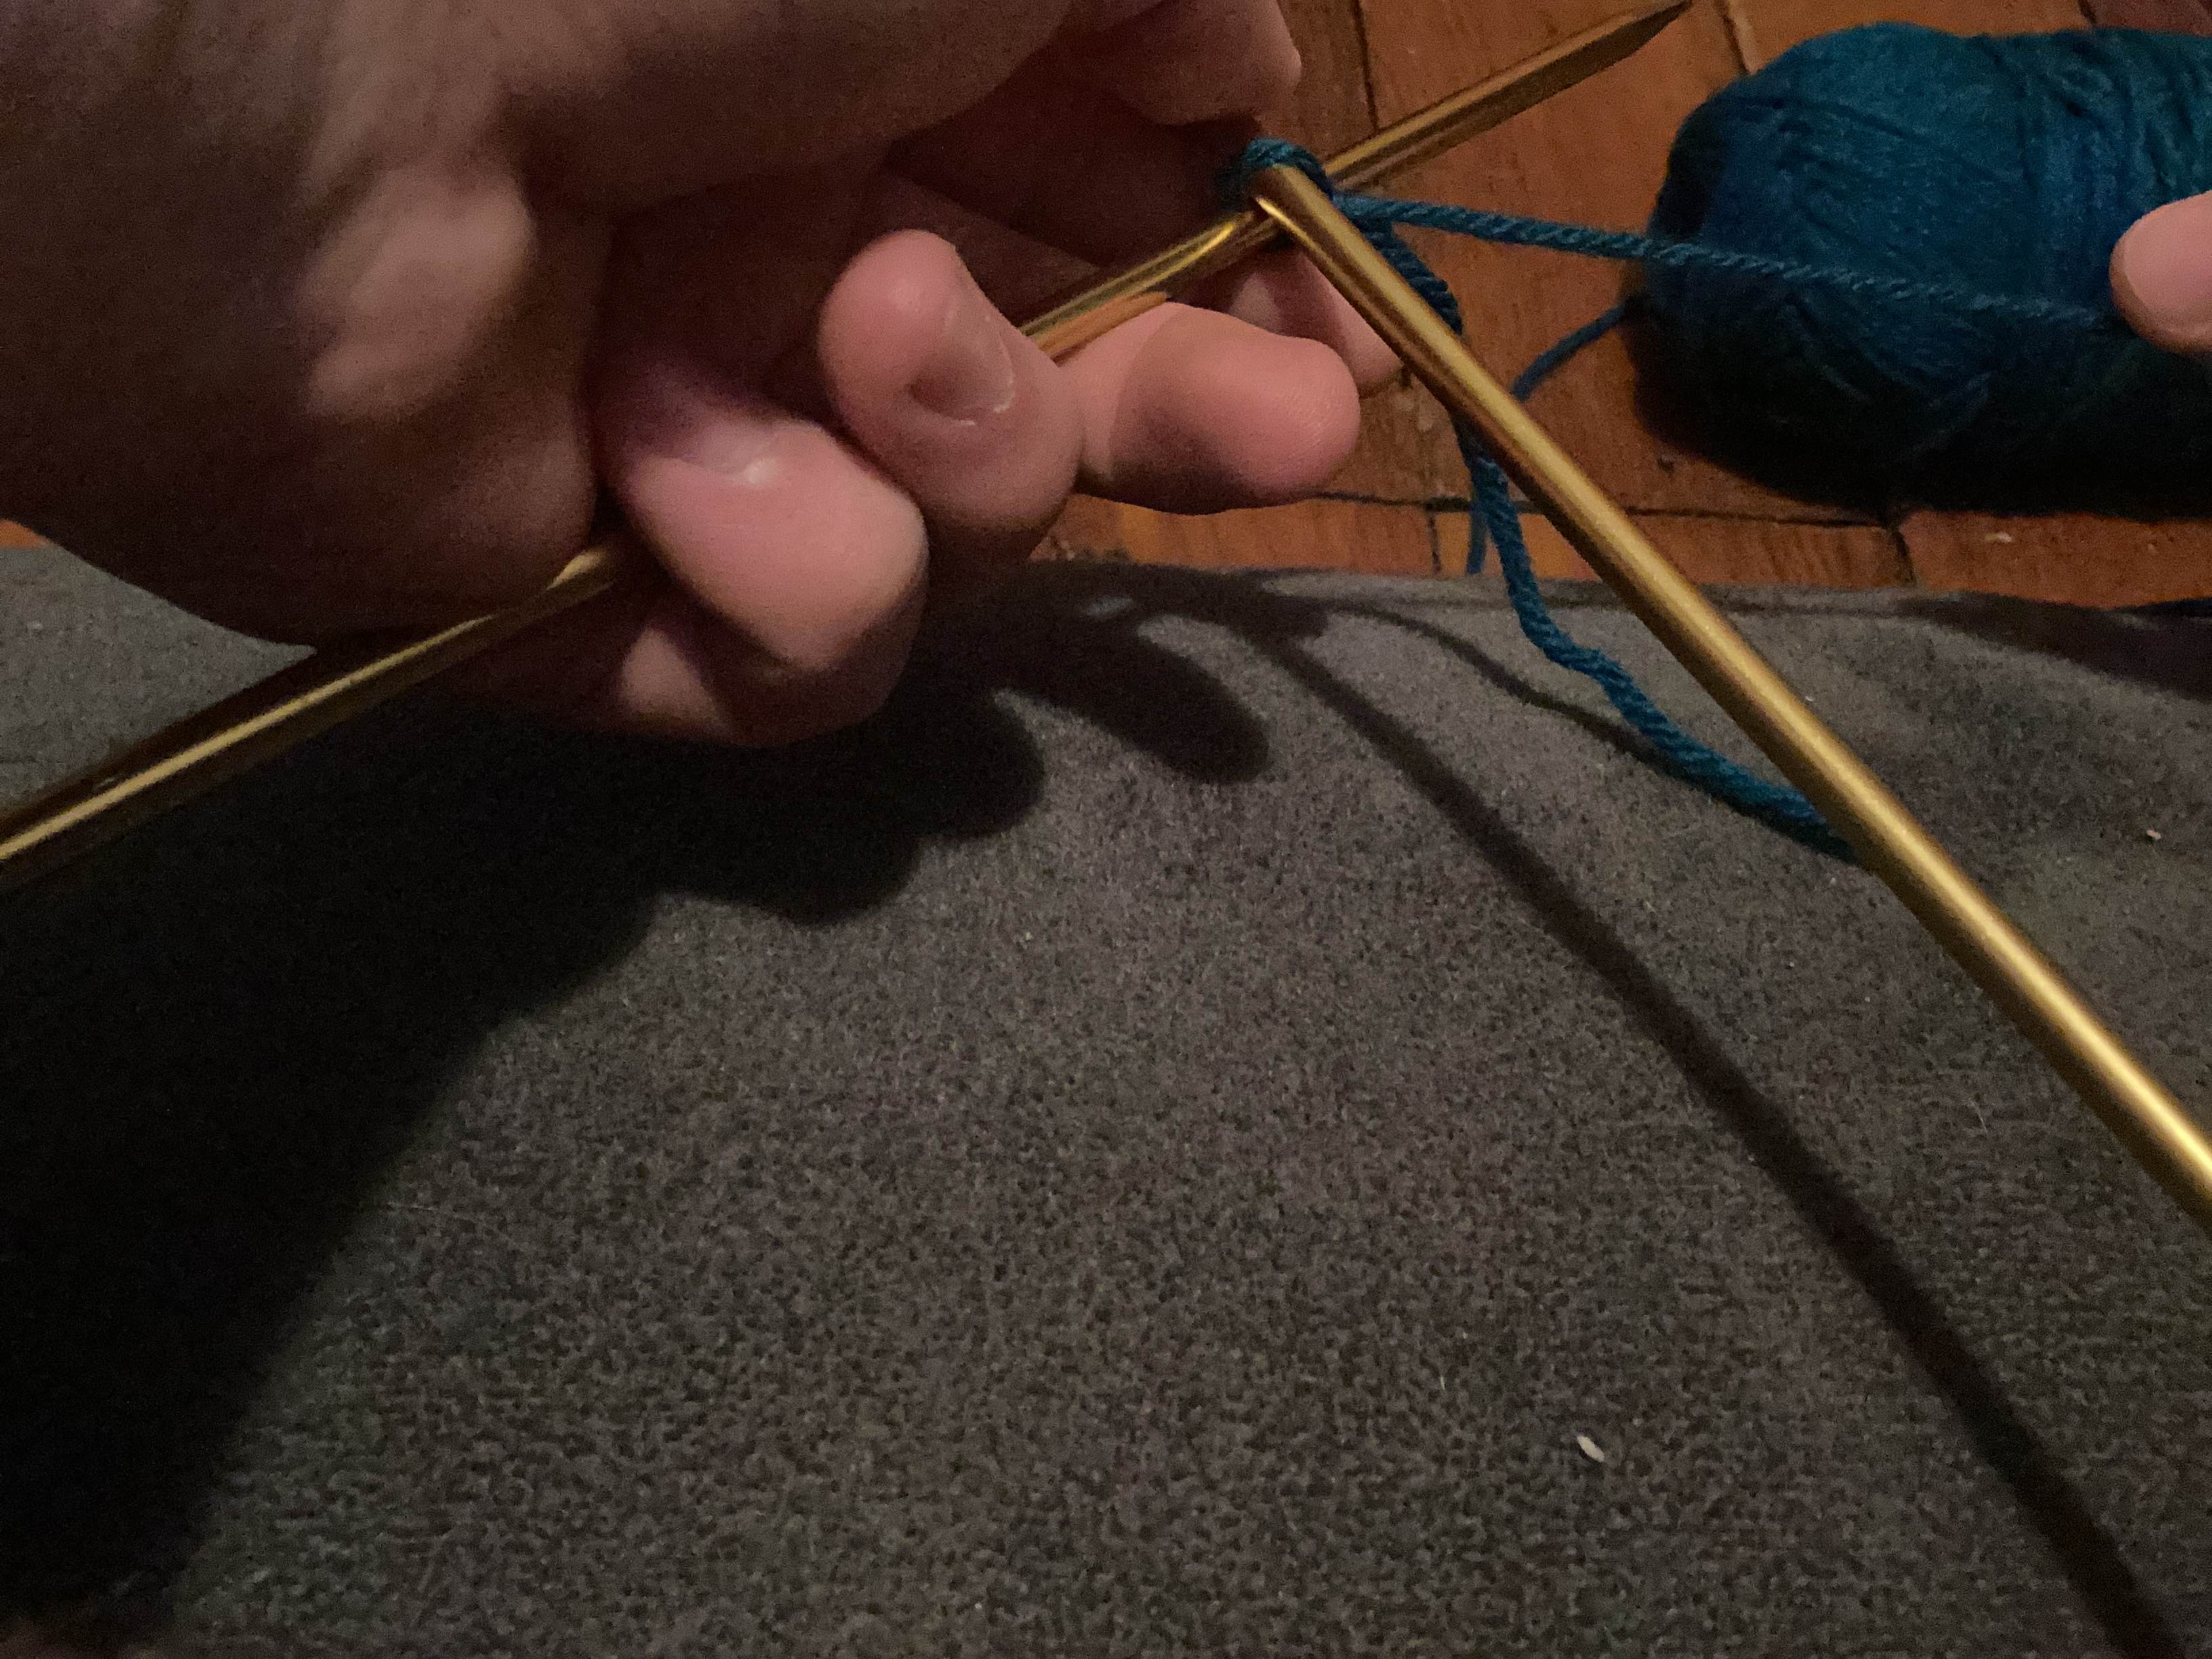
now hold the needle with the slip knot with your non dominant hand
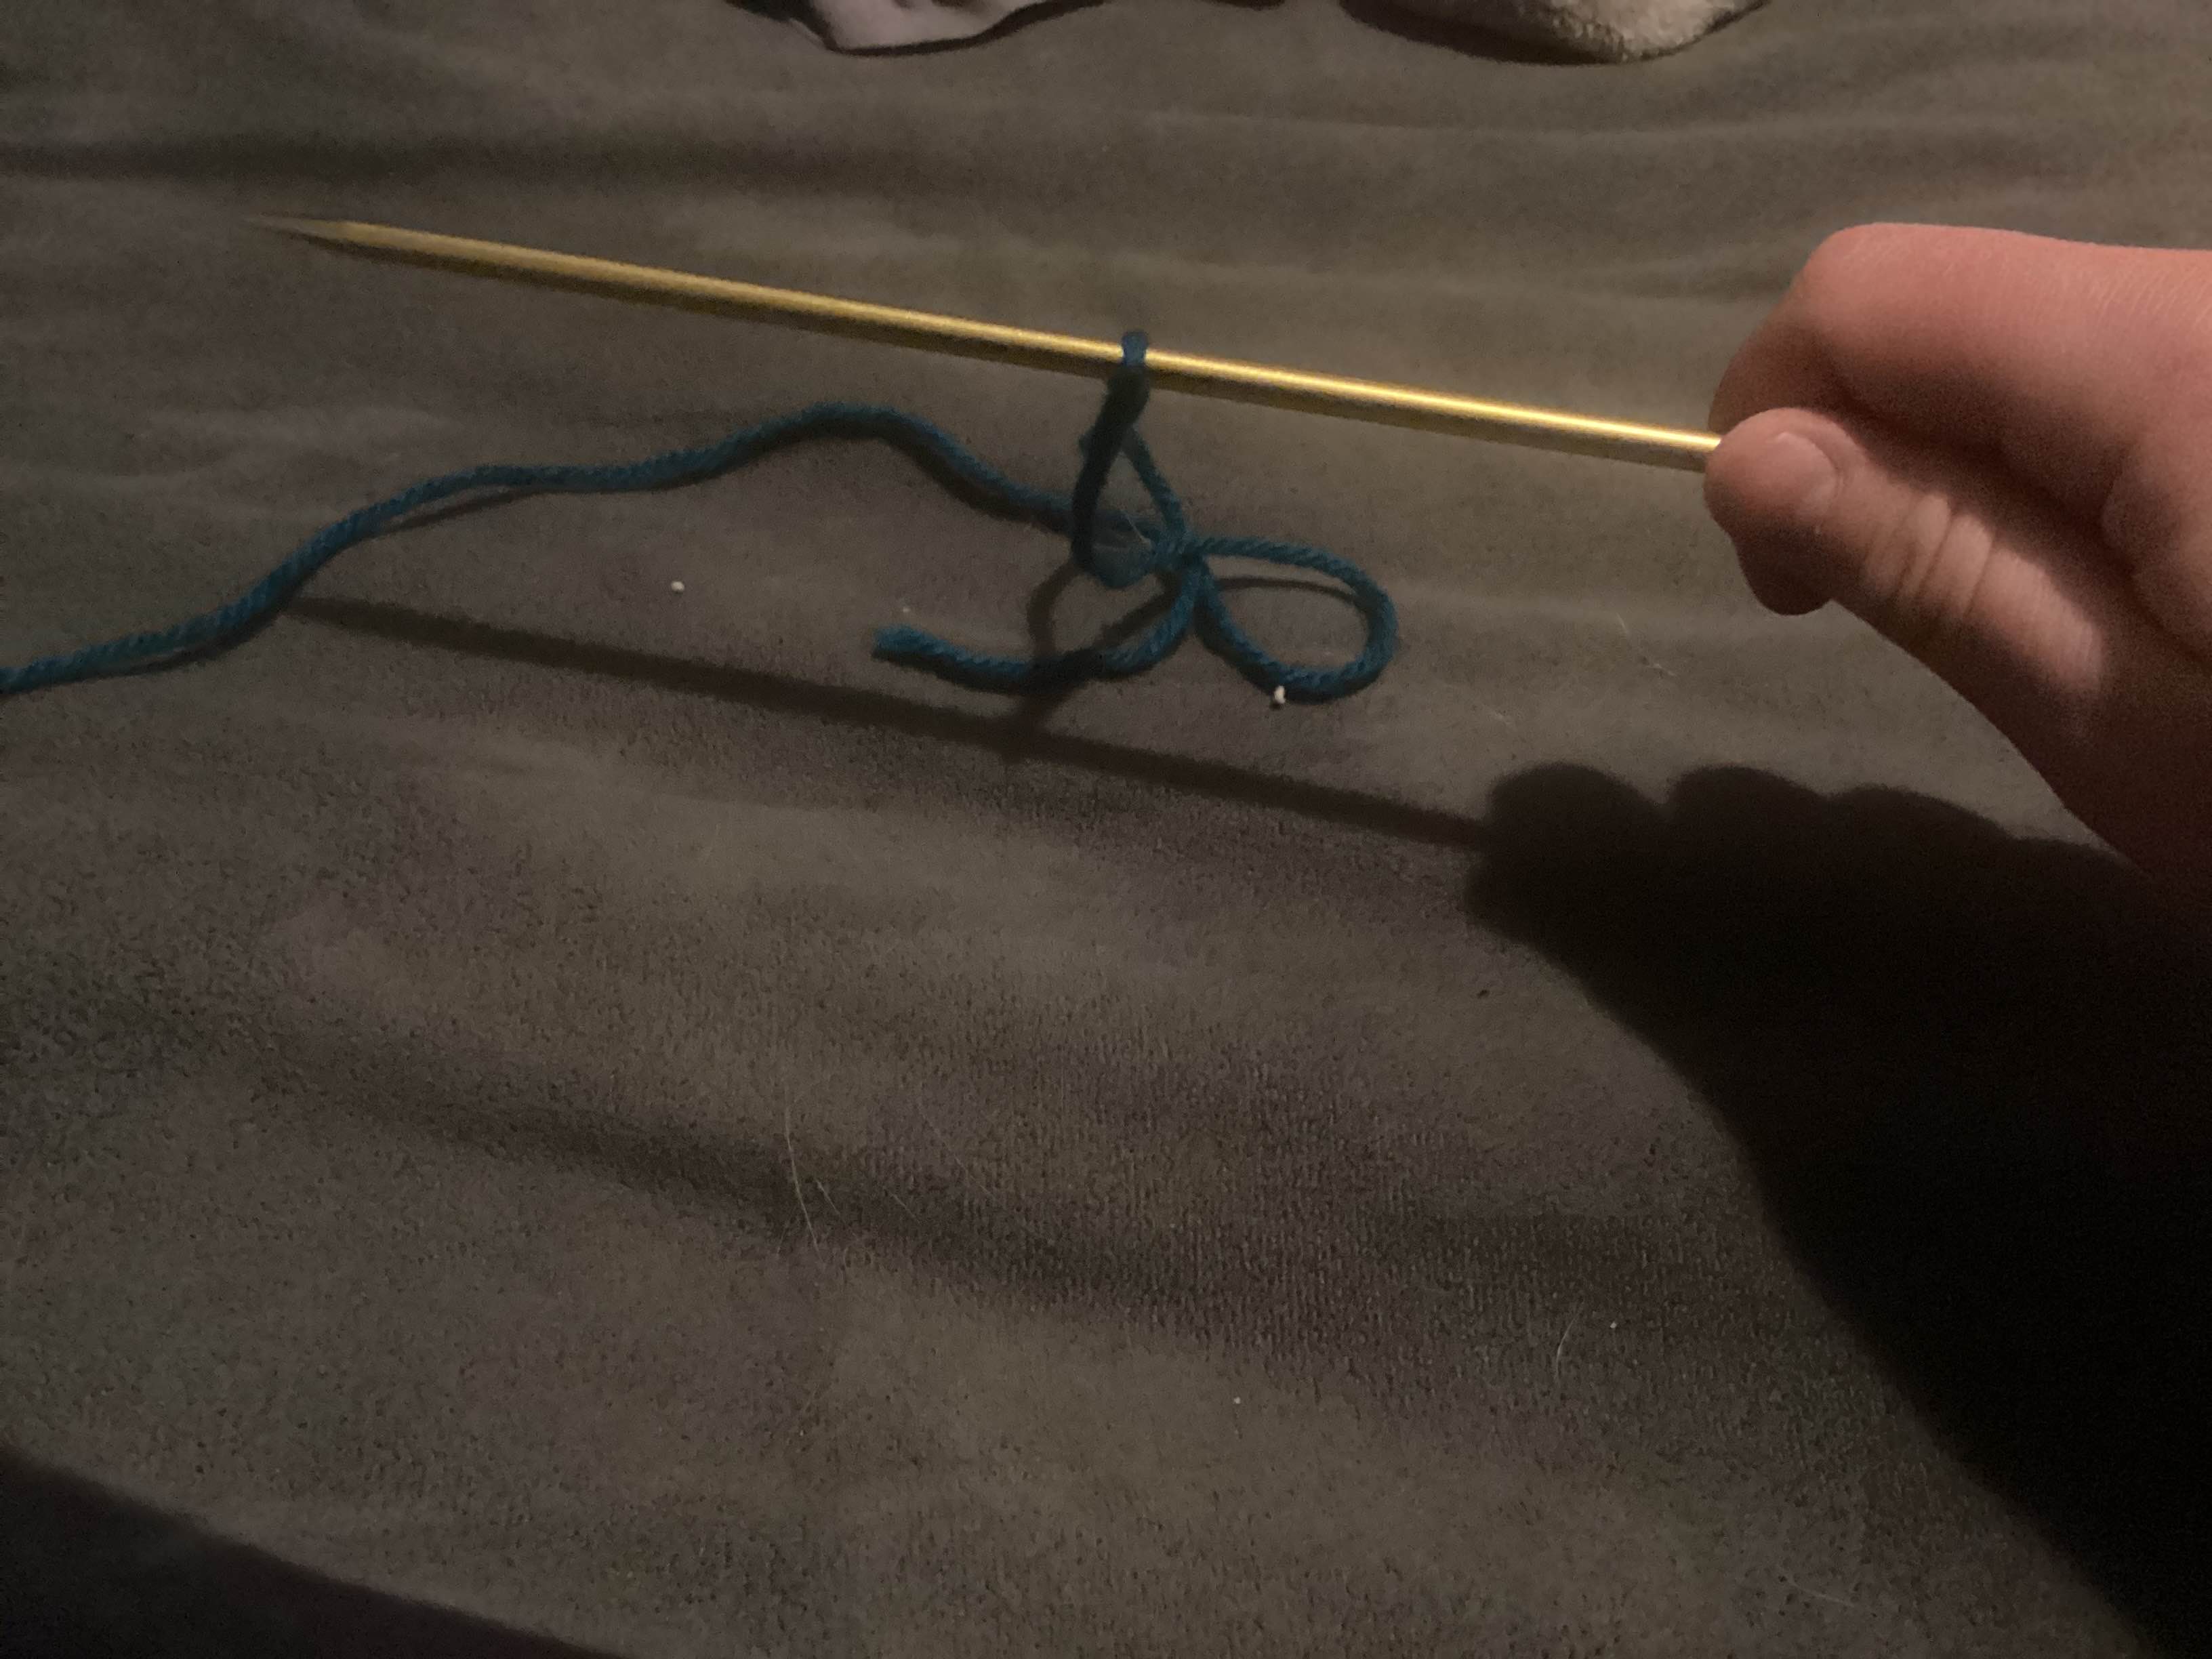
left handed ↑

right handed ↑
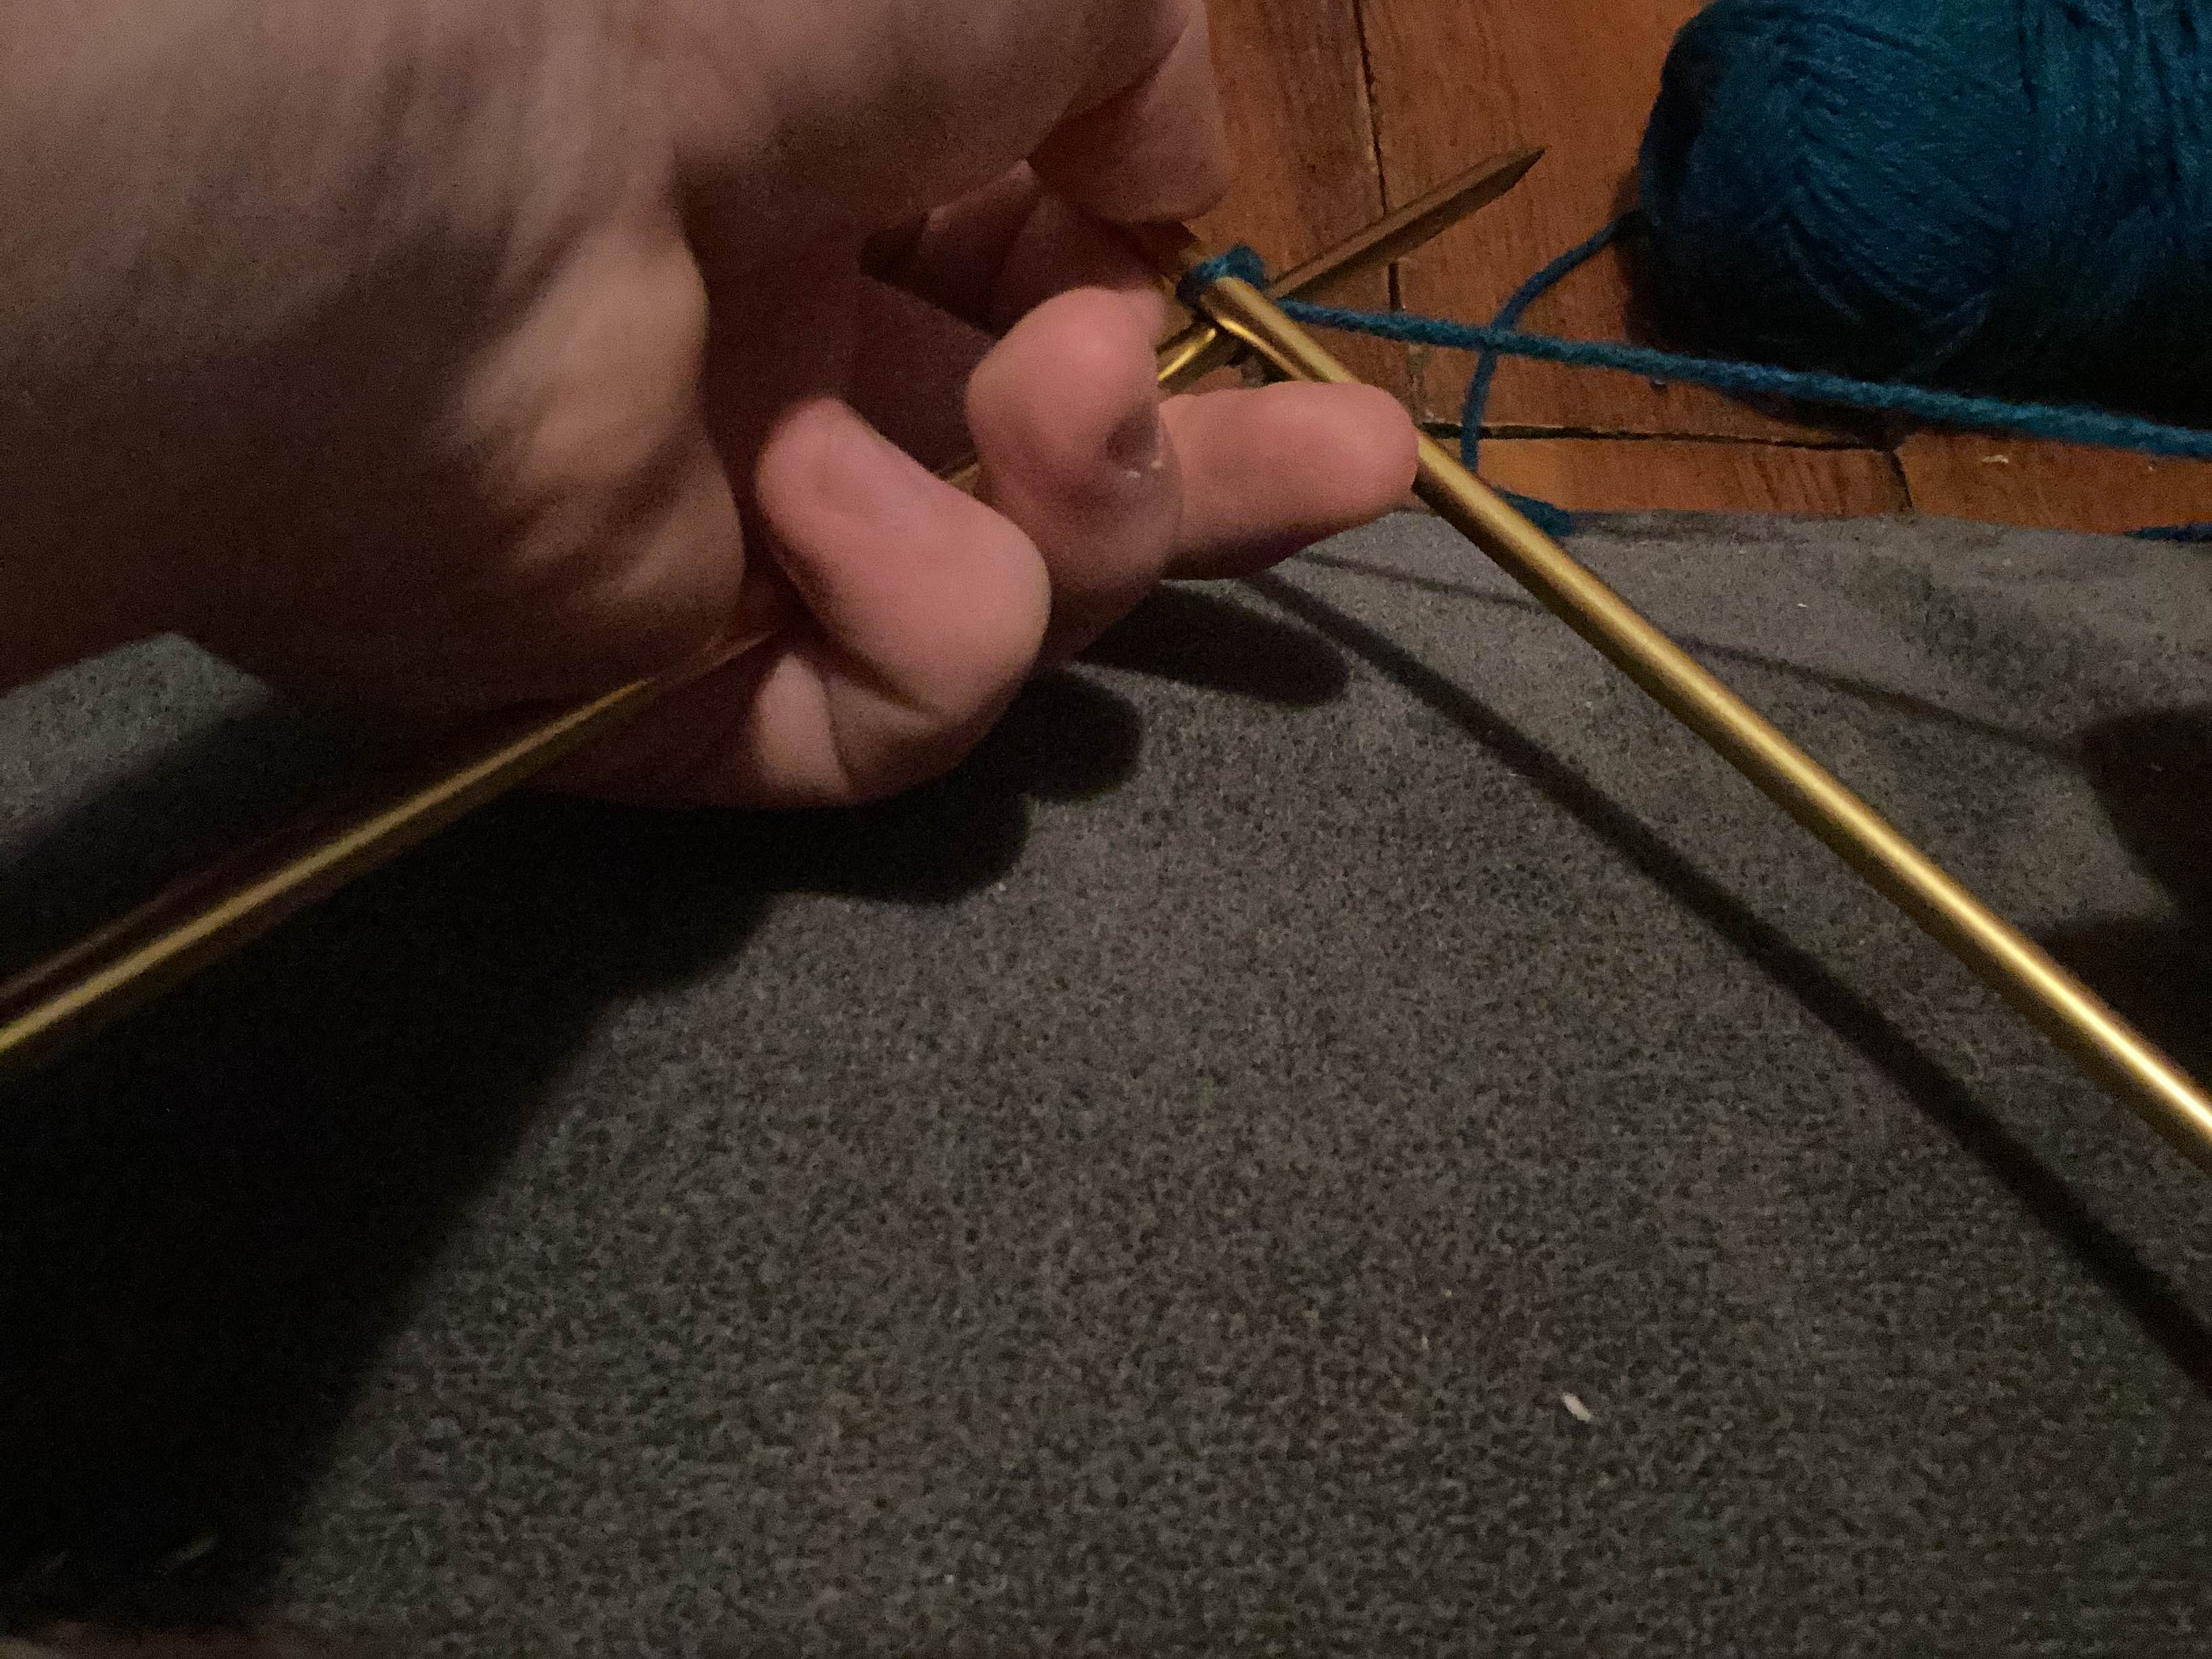
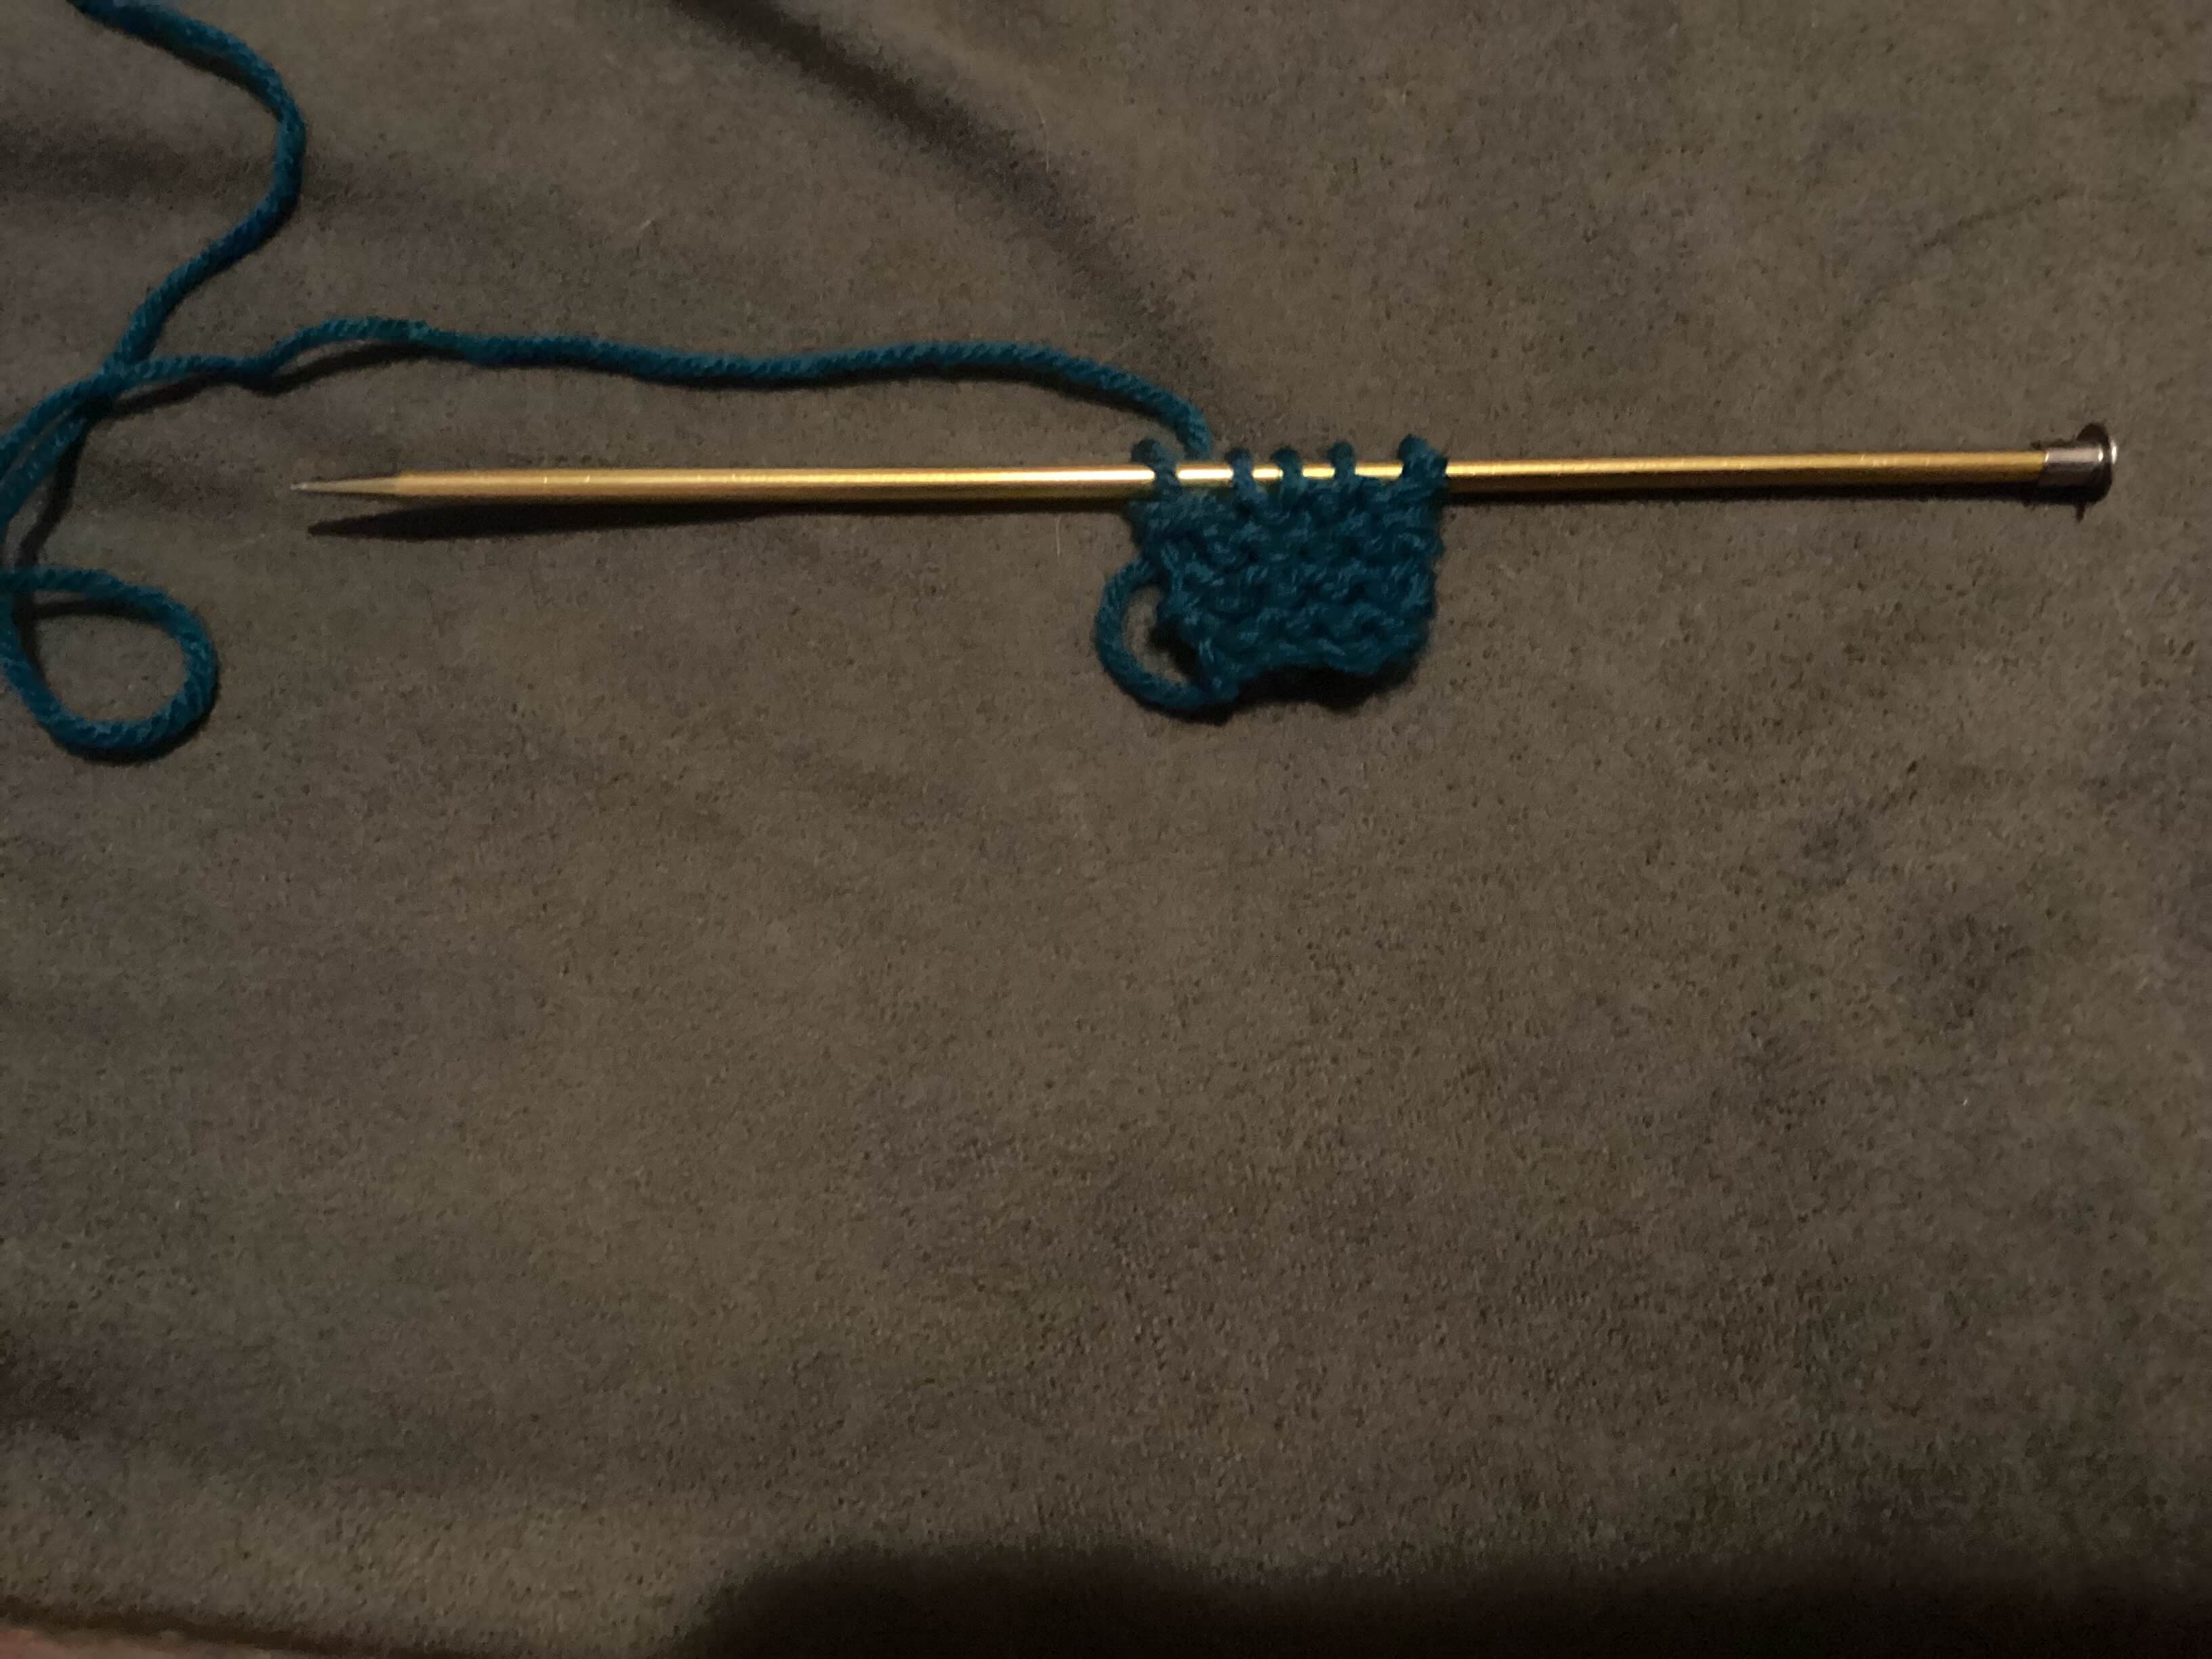
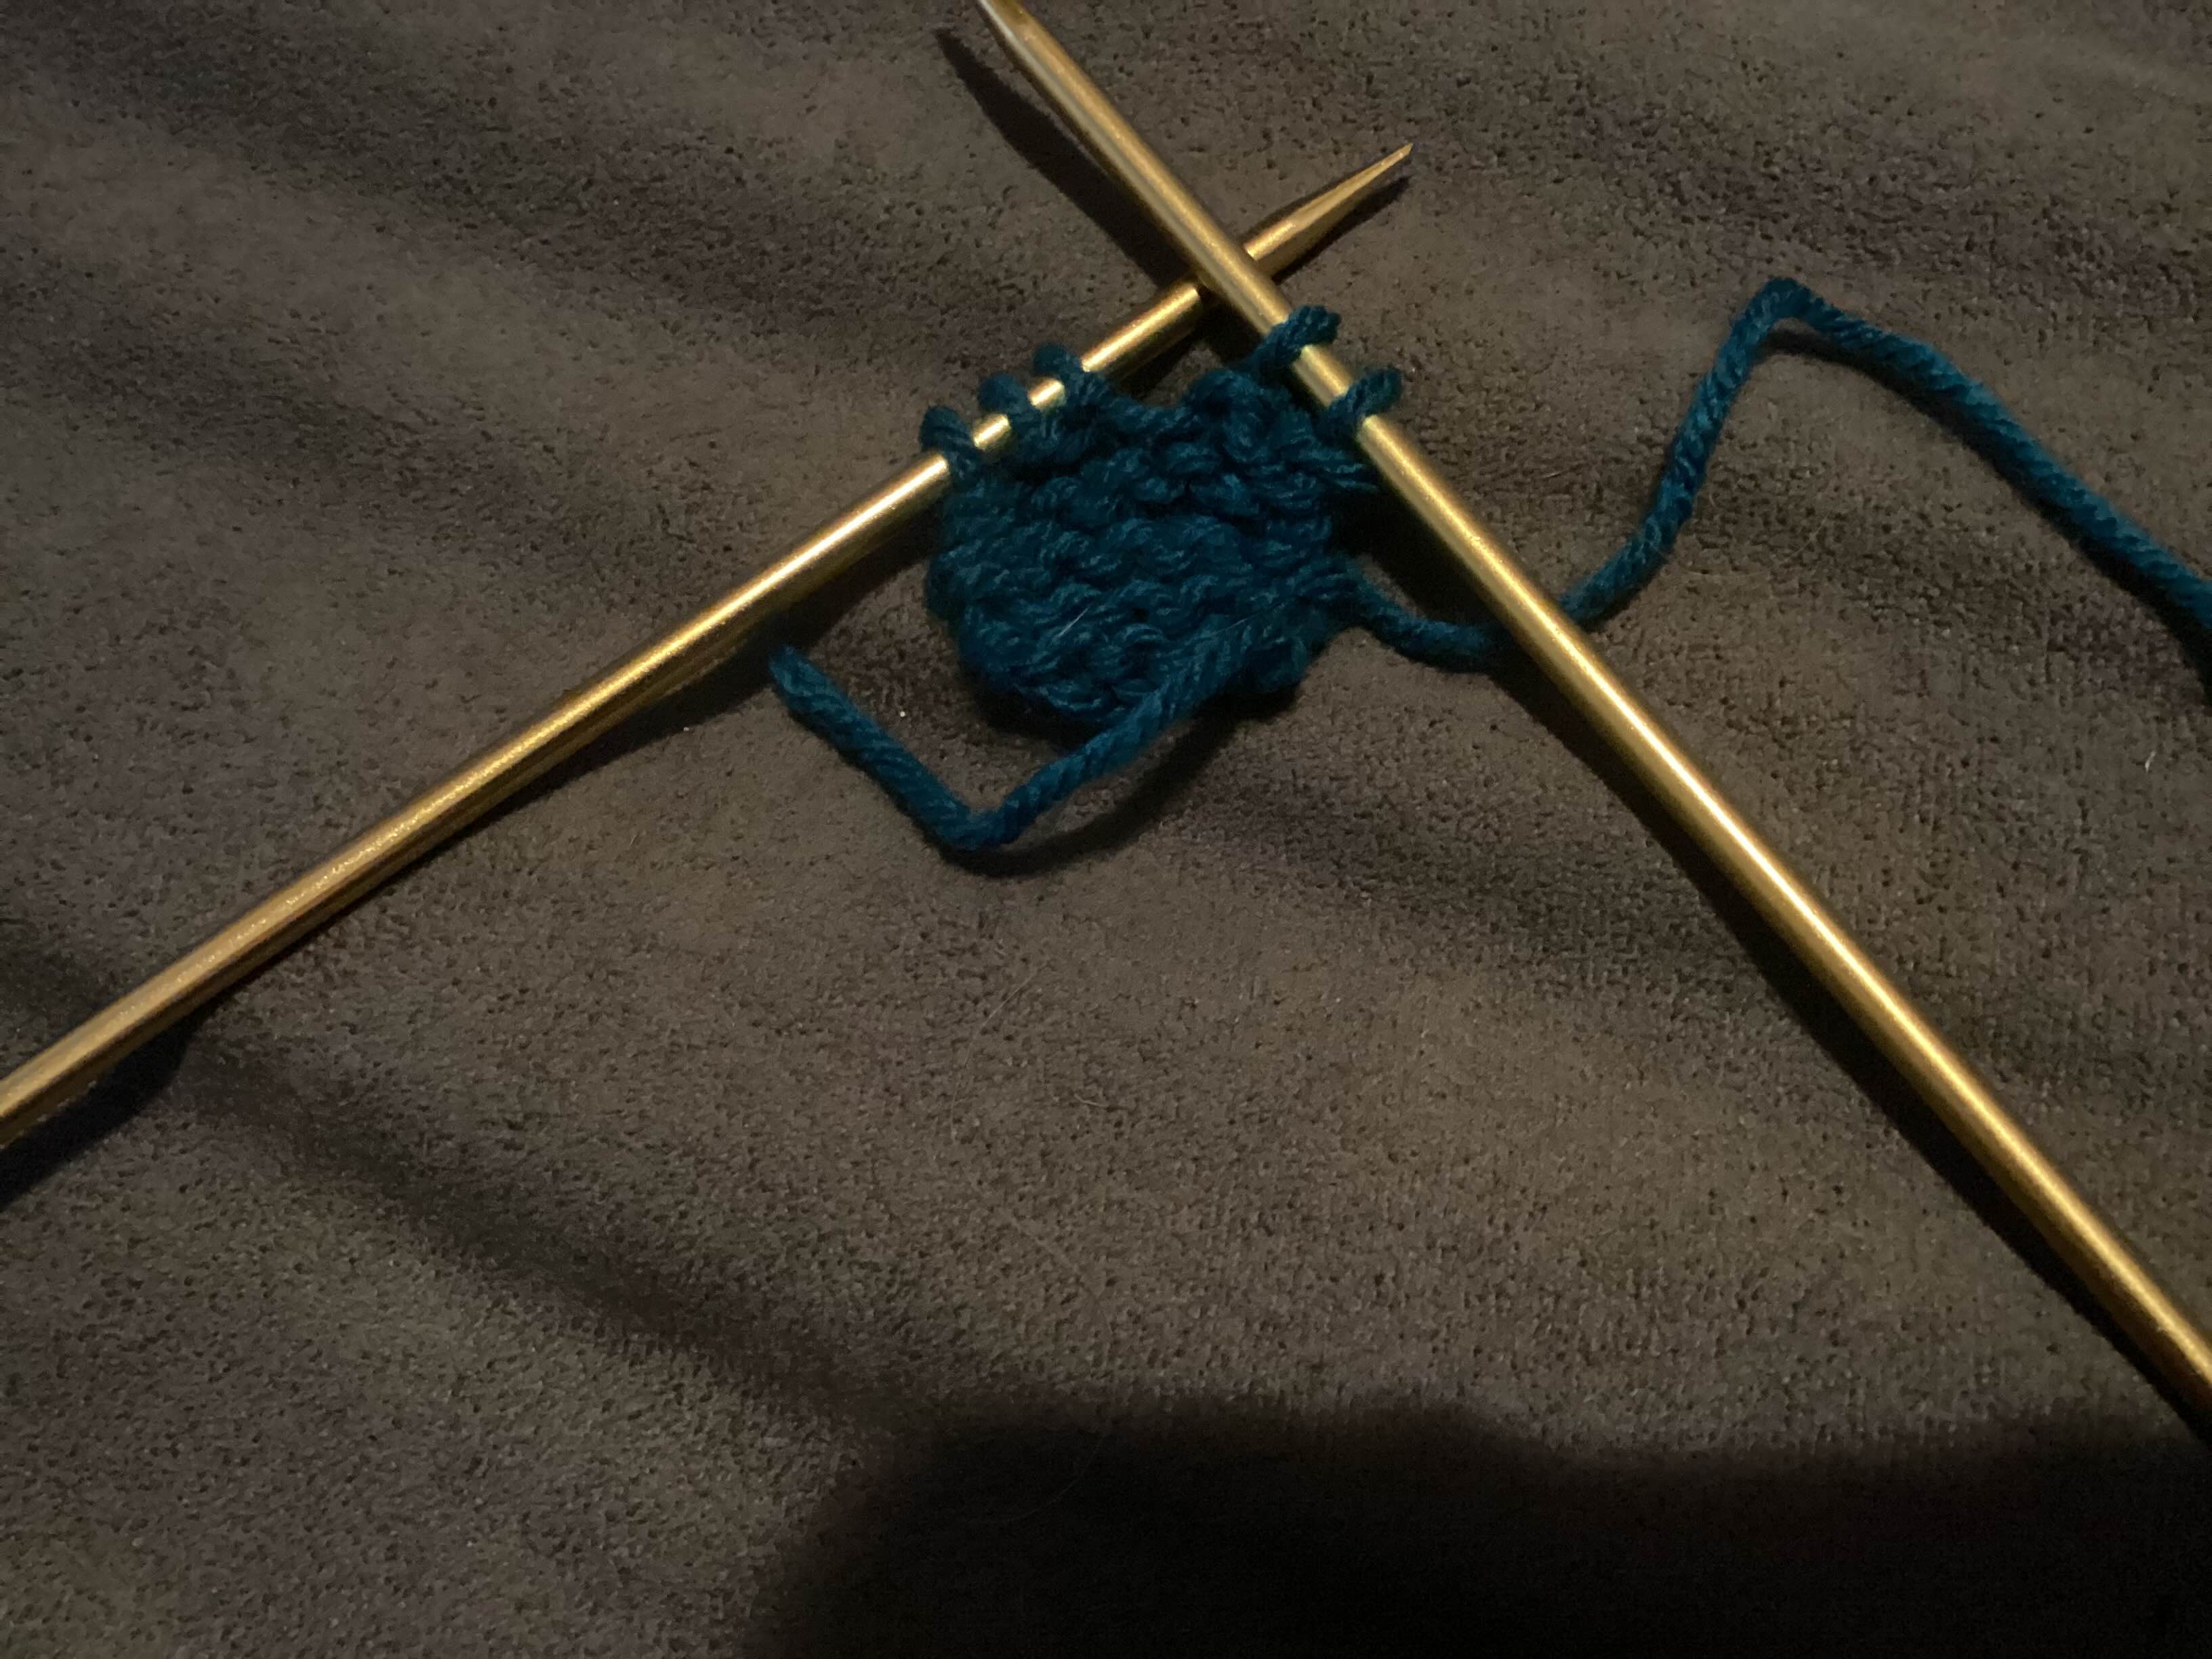
now add stitches
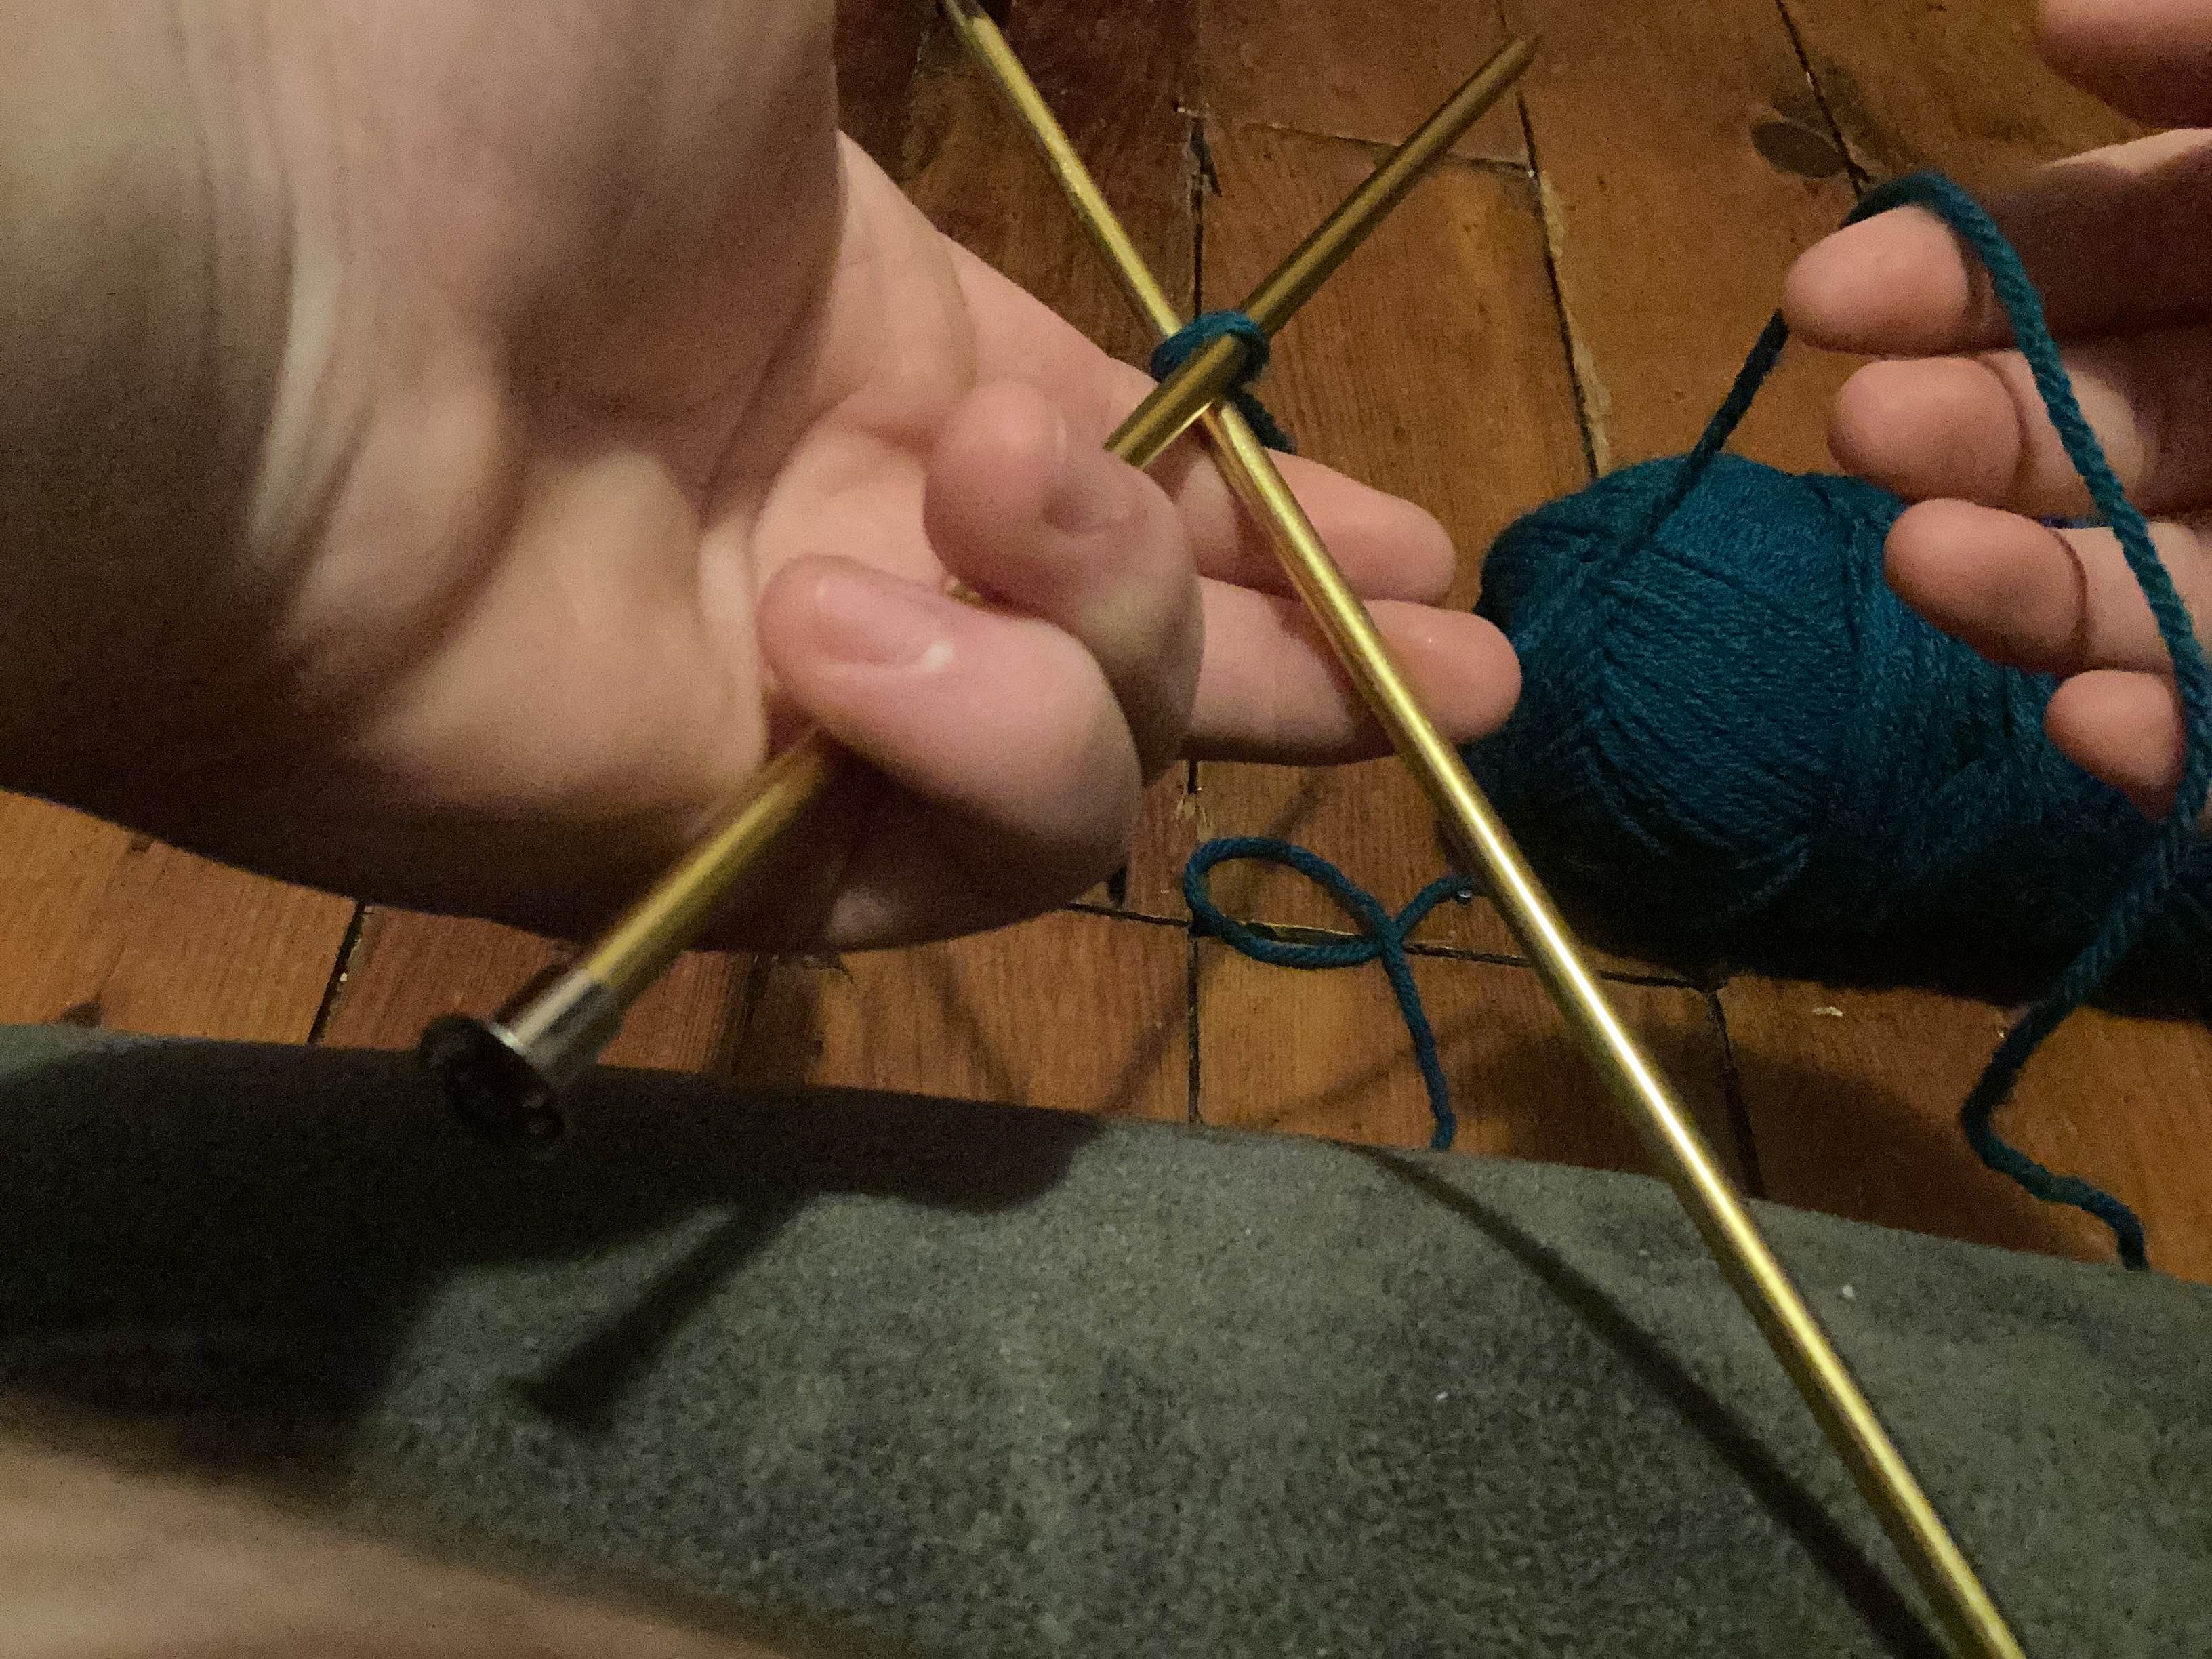
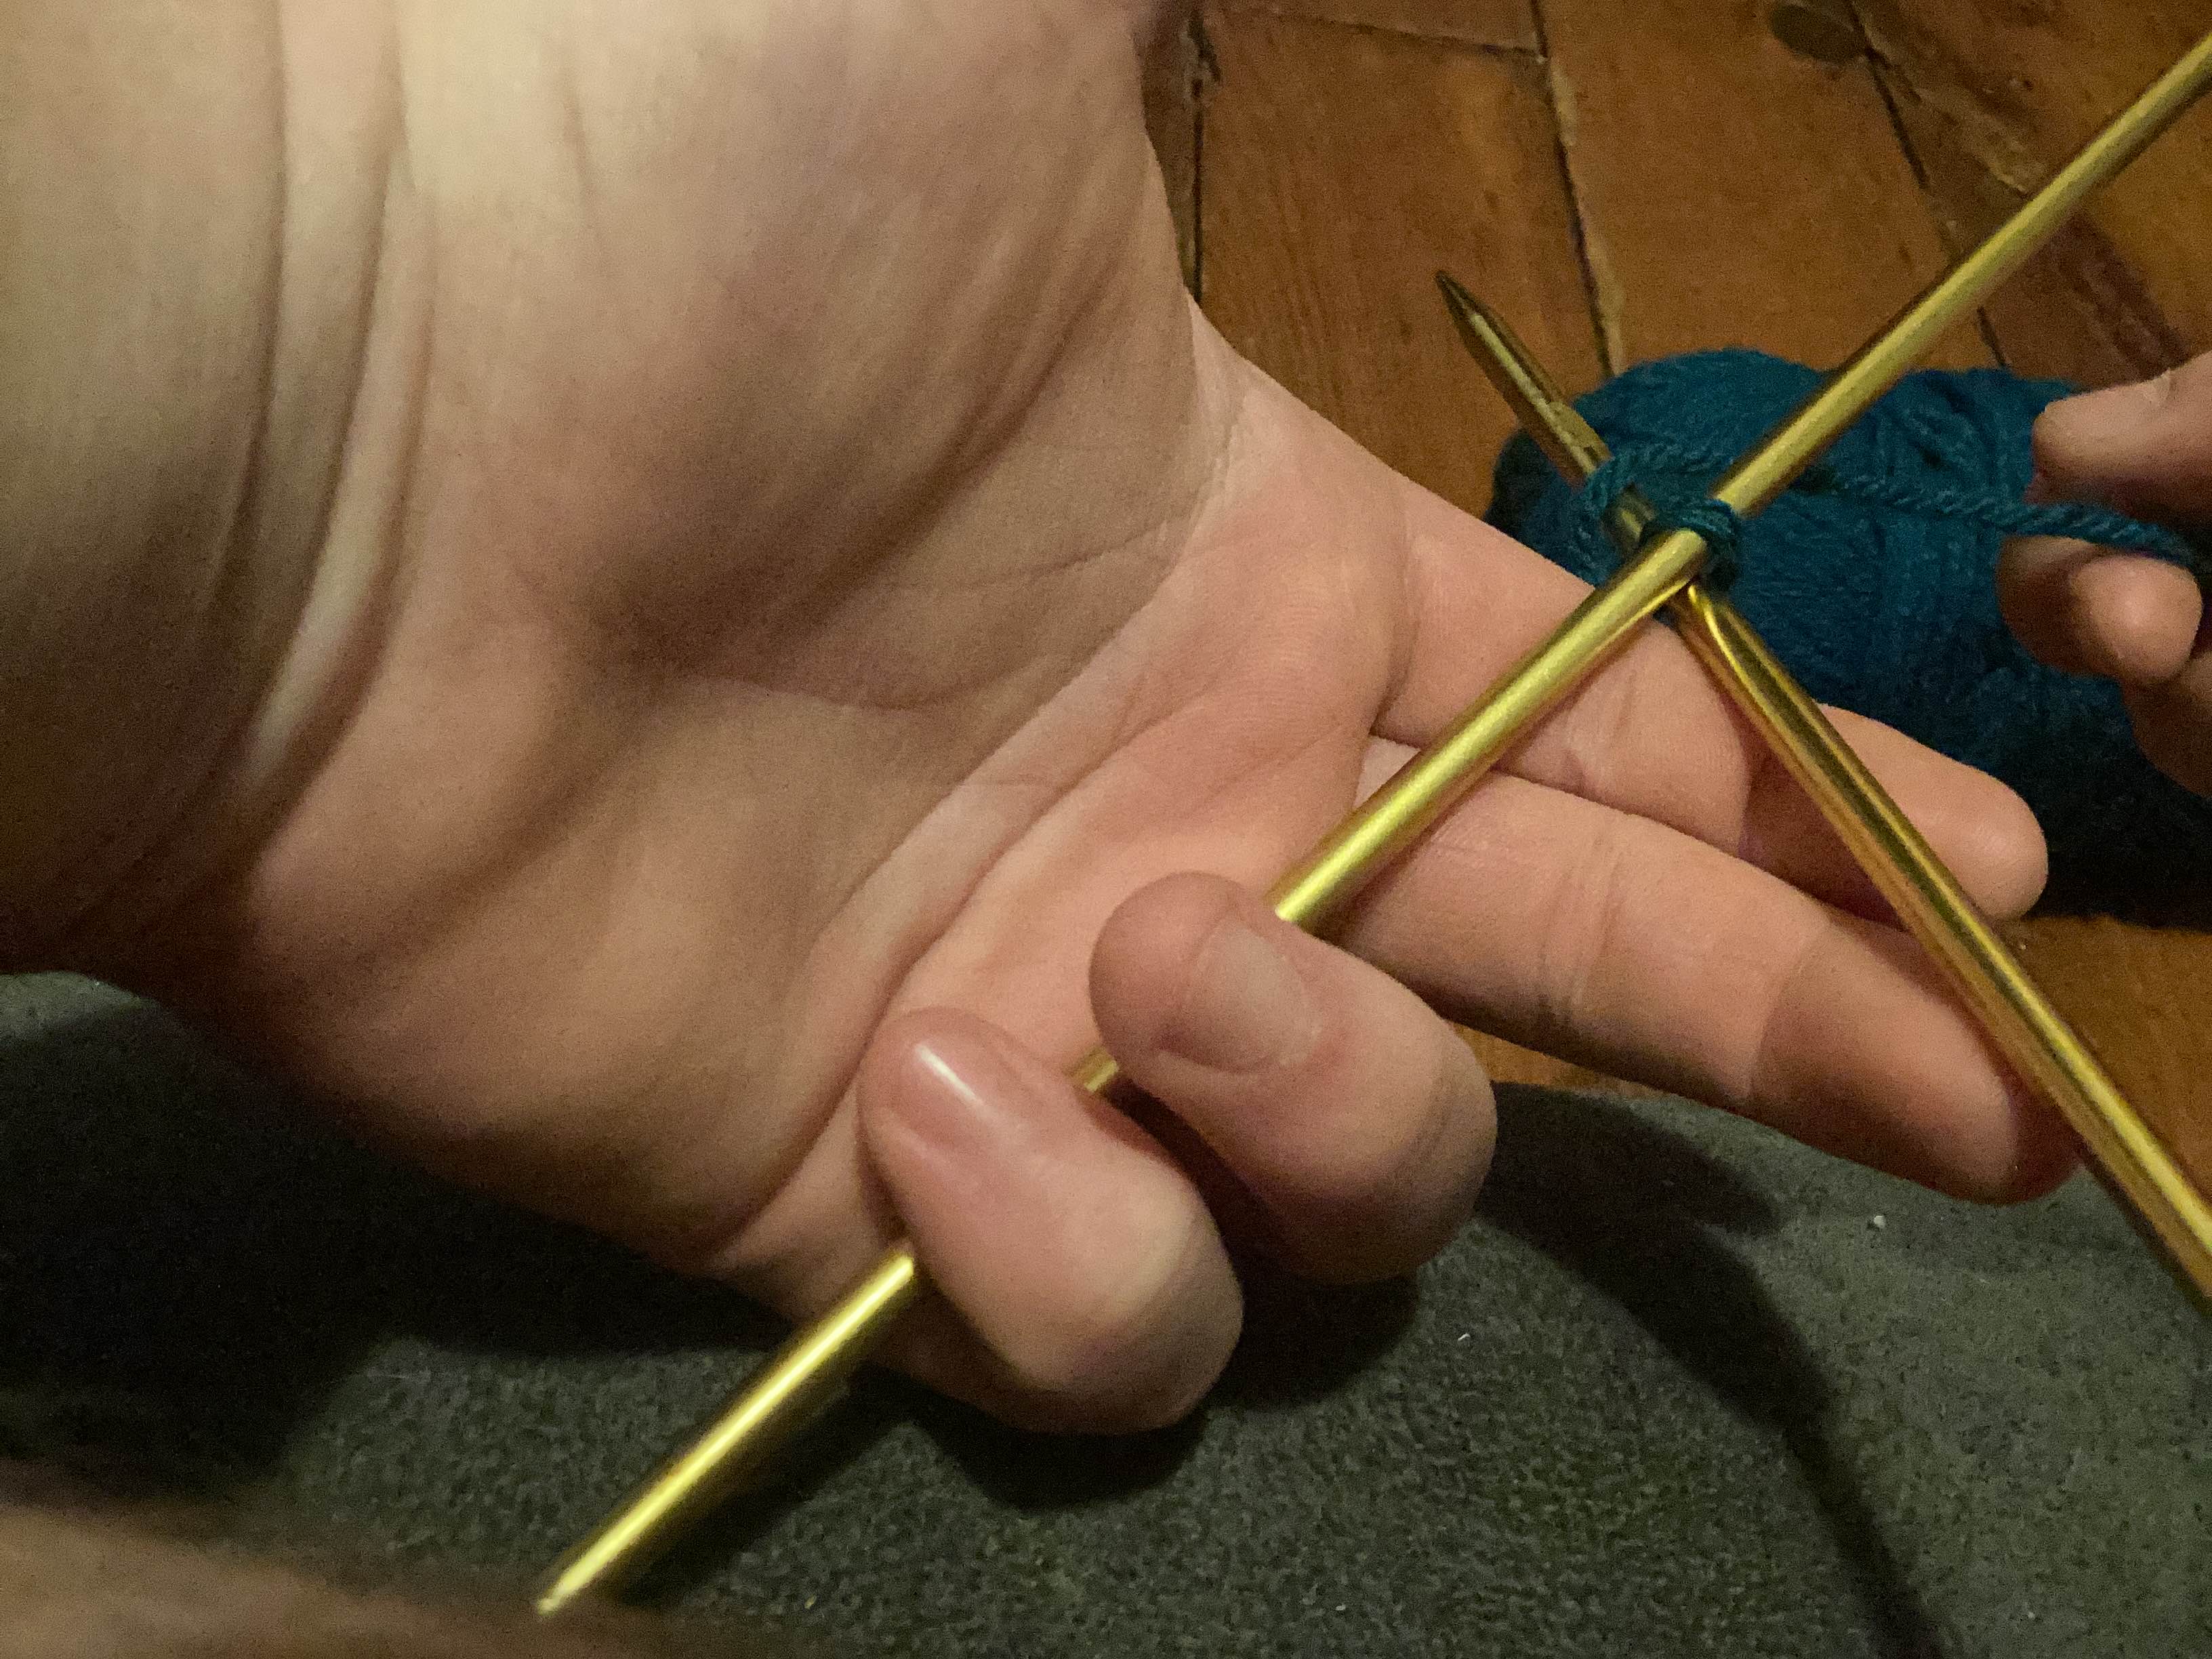
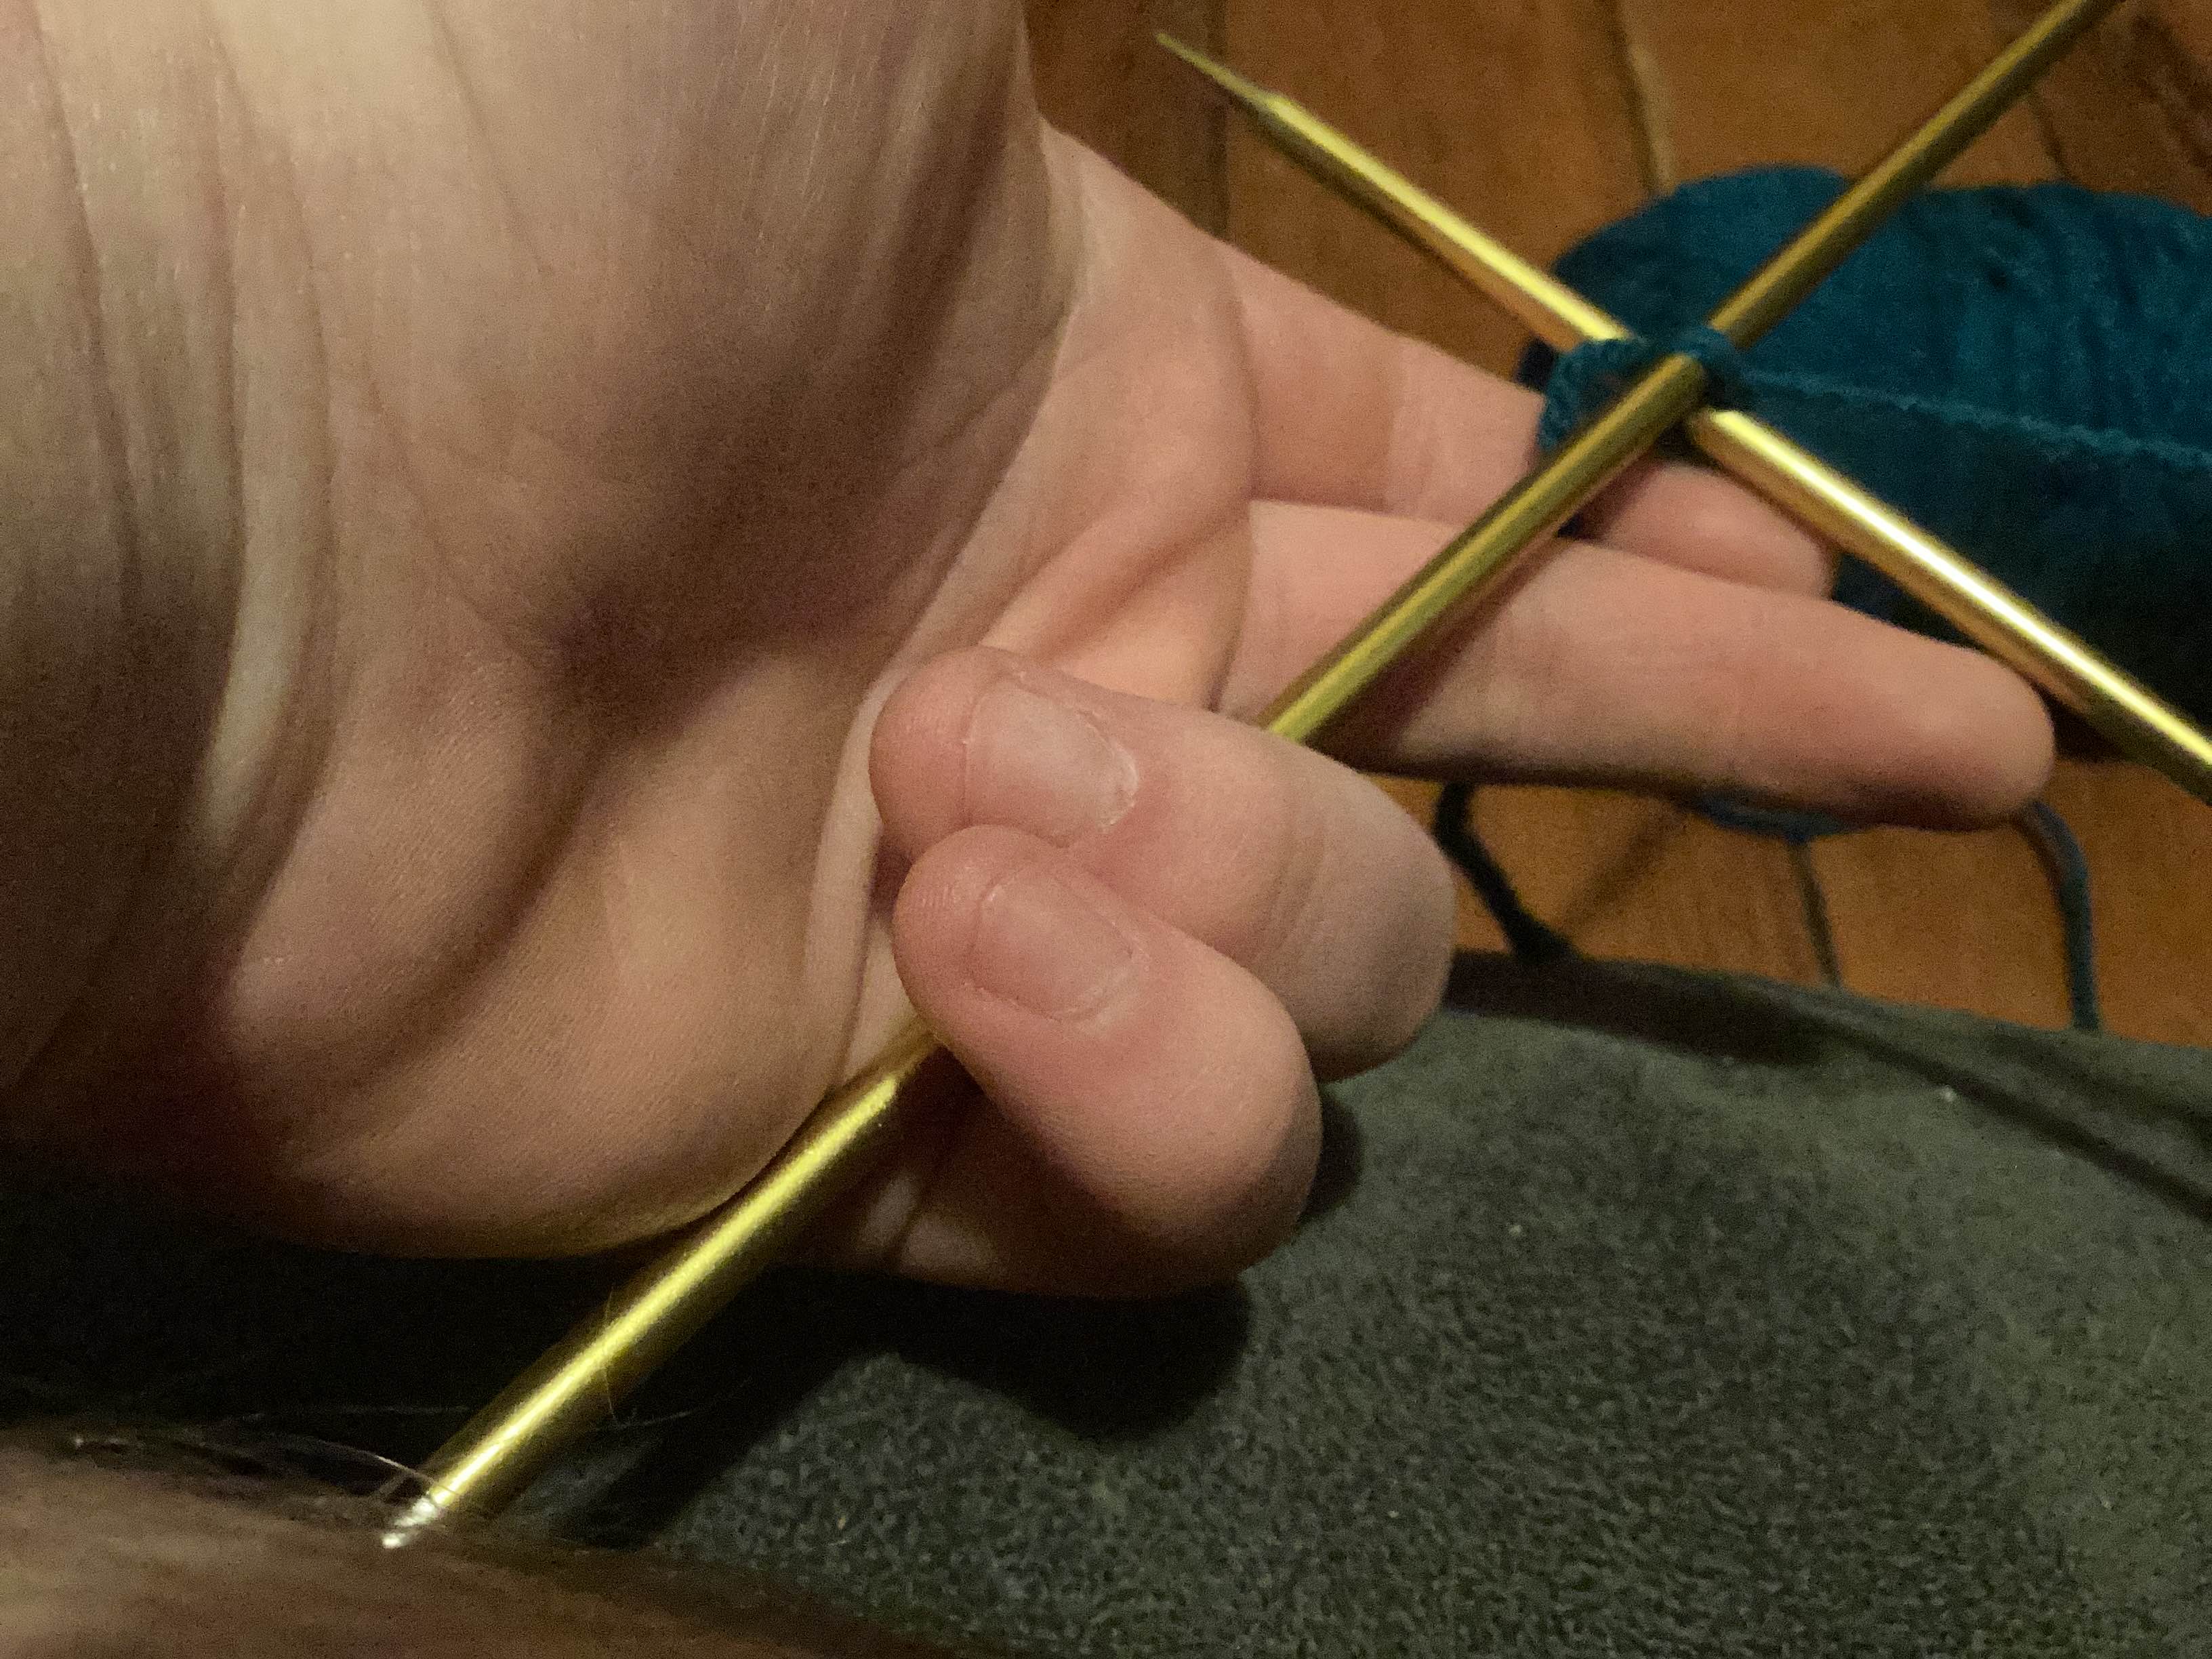
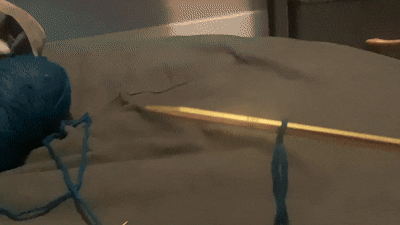
1. now use your dominant hand and put the other needle in to the bottom of the slip knot
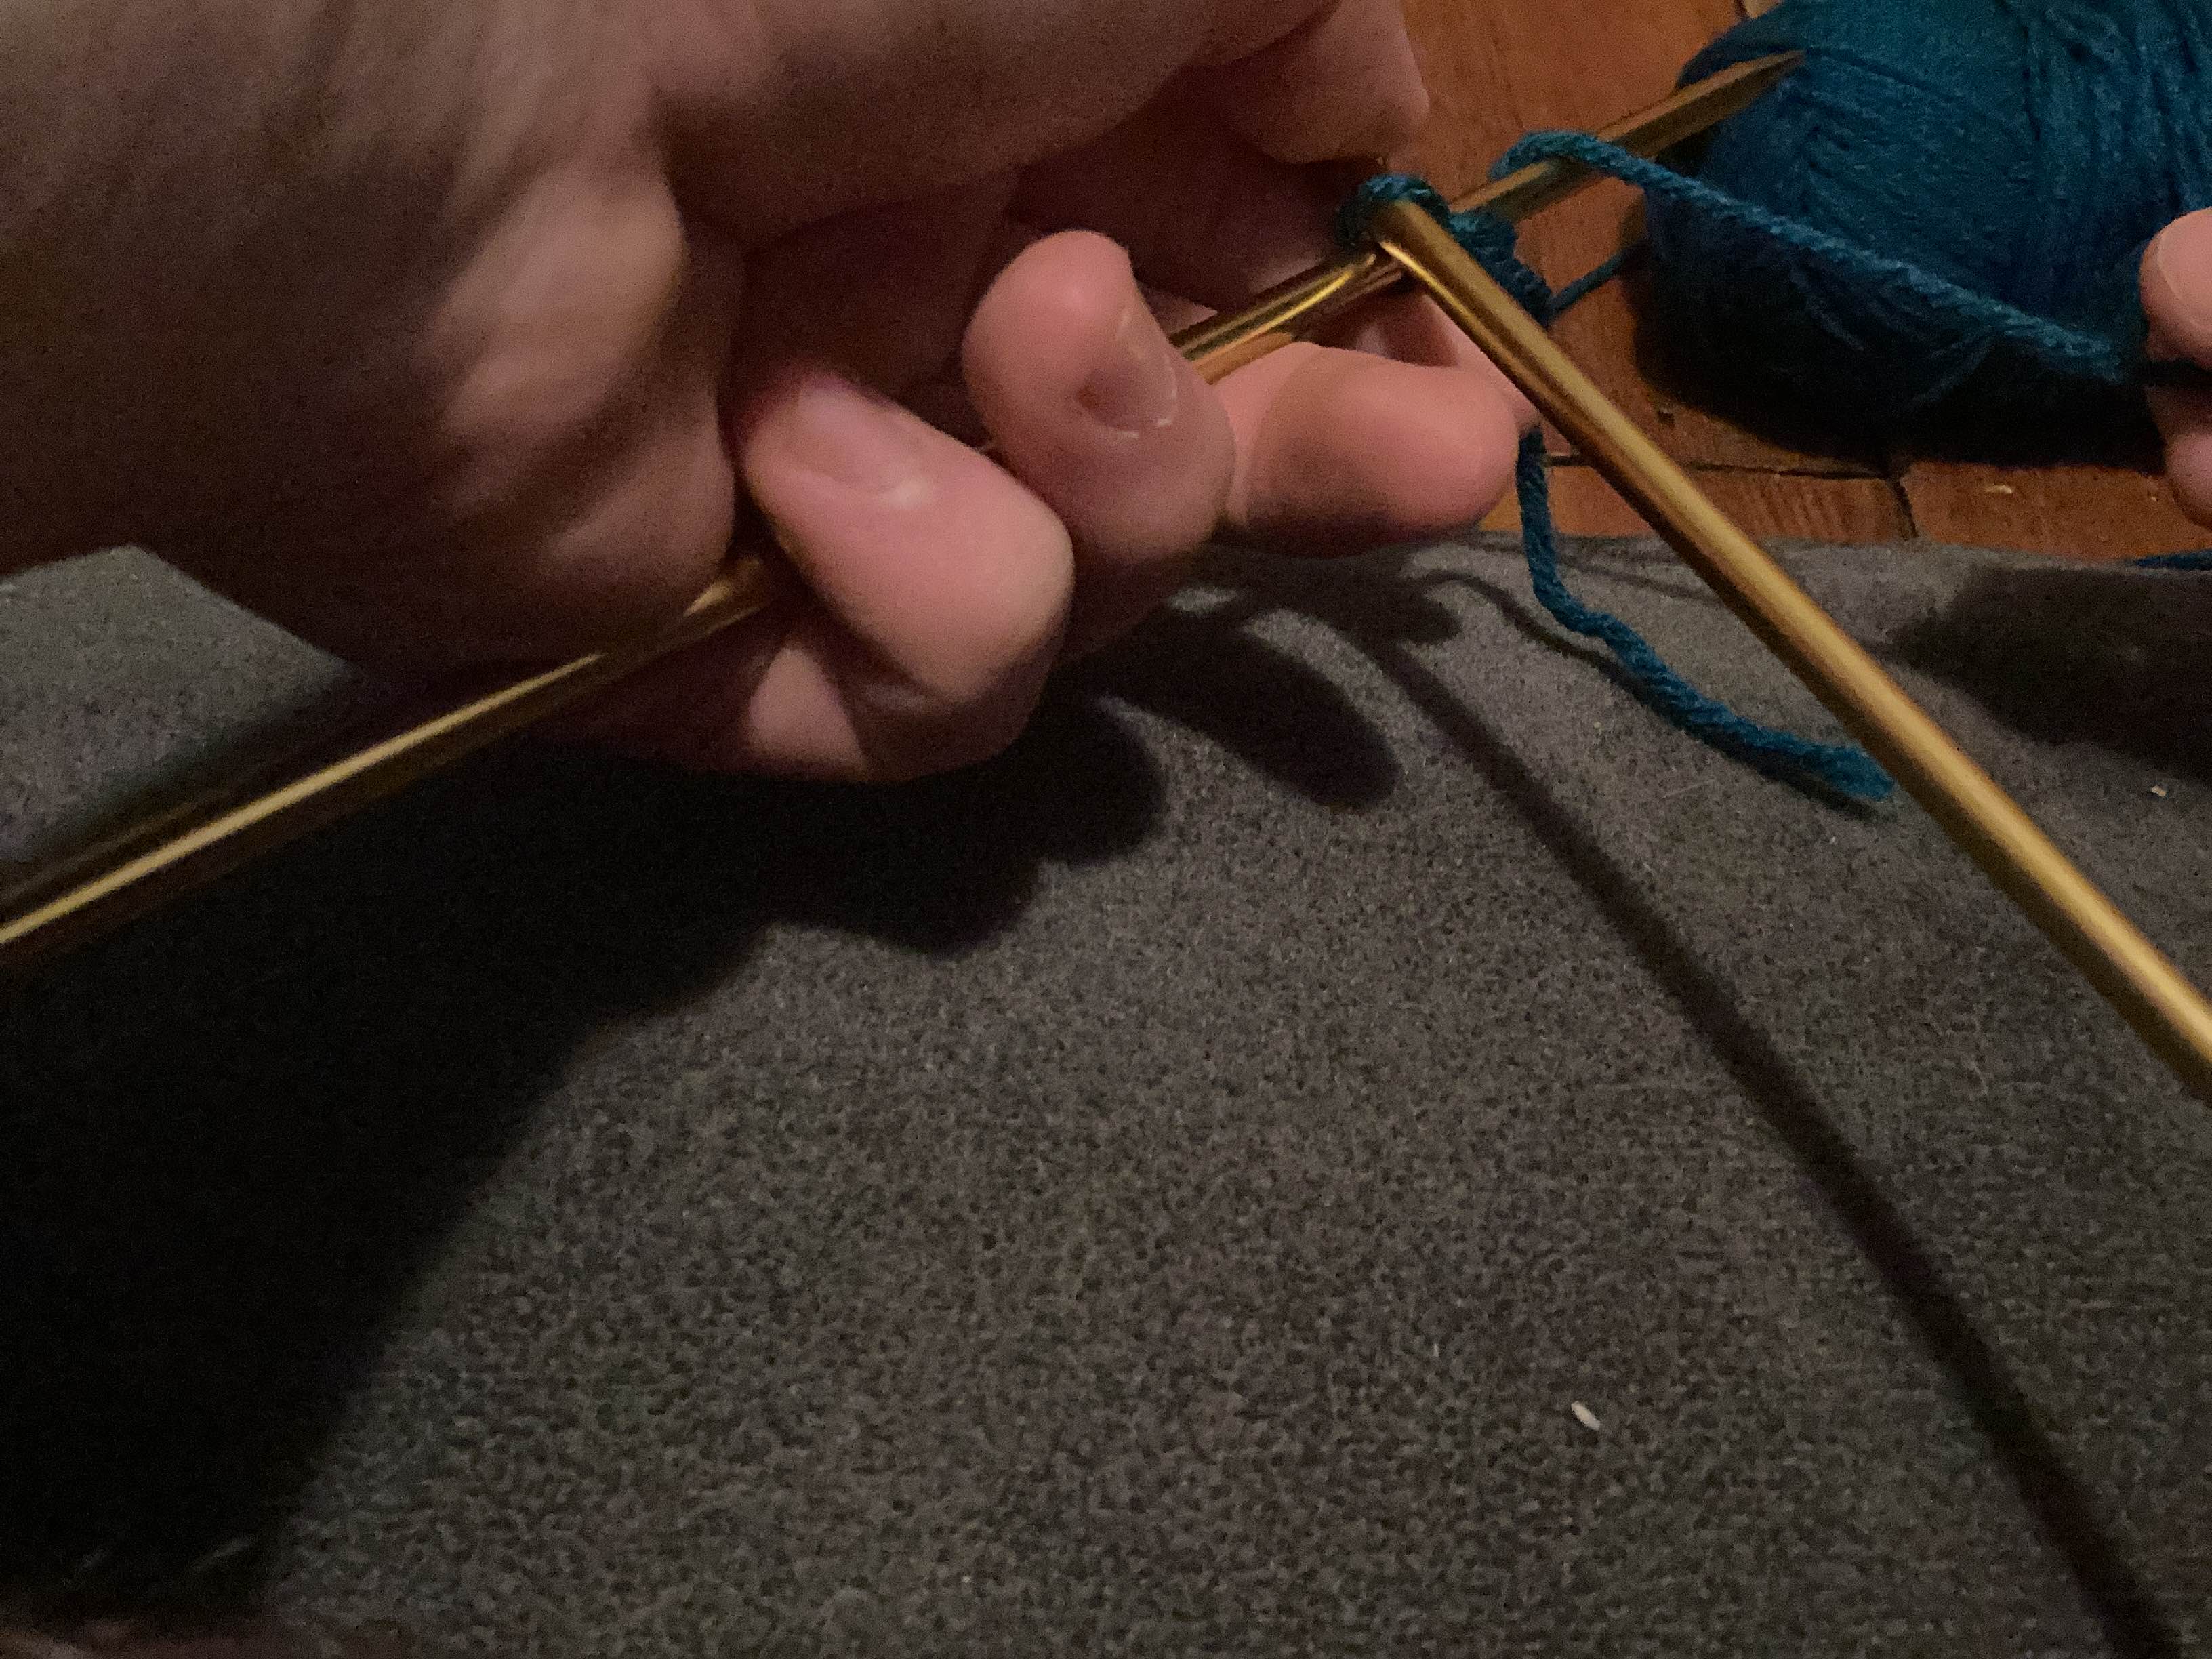
2. now wrap the slack(part connected to material) of the slip knot inbetween the knitting needles
3. now use your non-dominant hand and pull the material we just wrapped out and on to the needle
now repeat the steps 1,2,3 untill all the stitches are knitted then turn the needle place it in the non domnant hand and repeat untill the desired length is reached
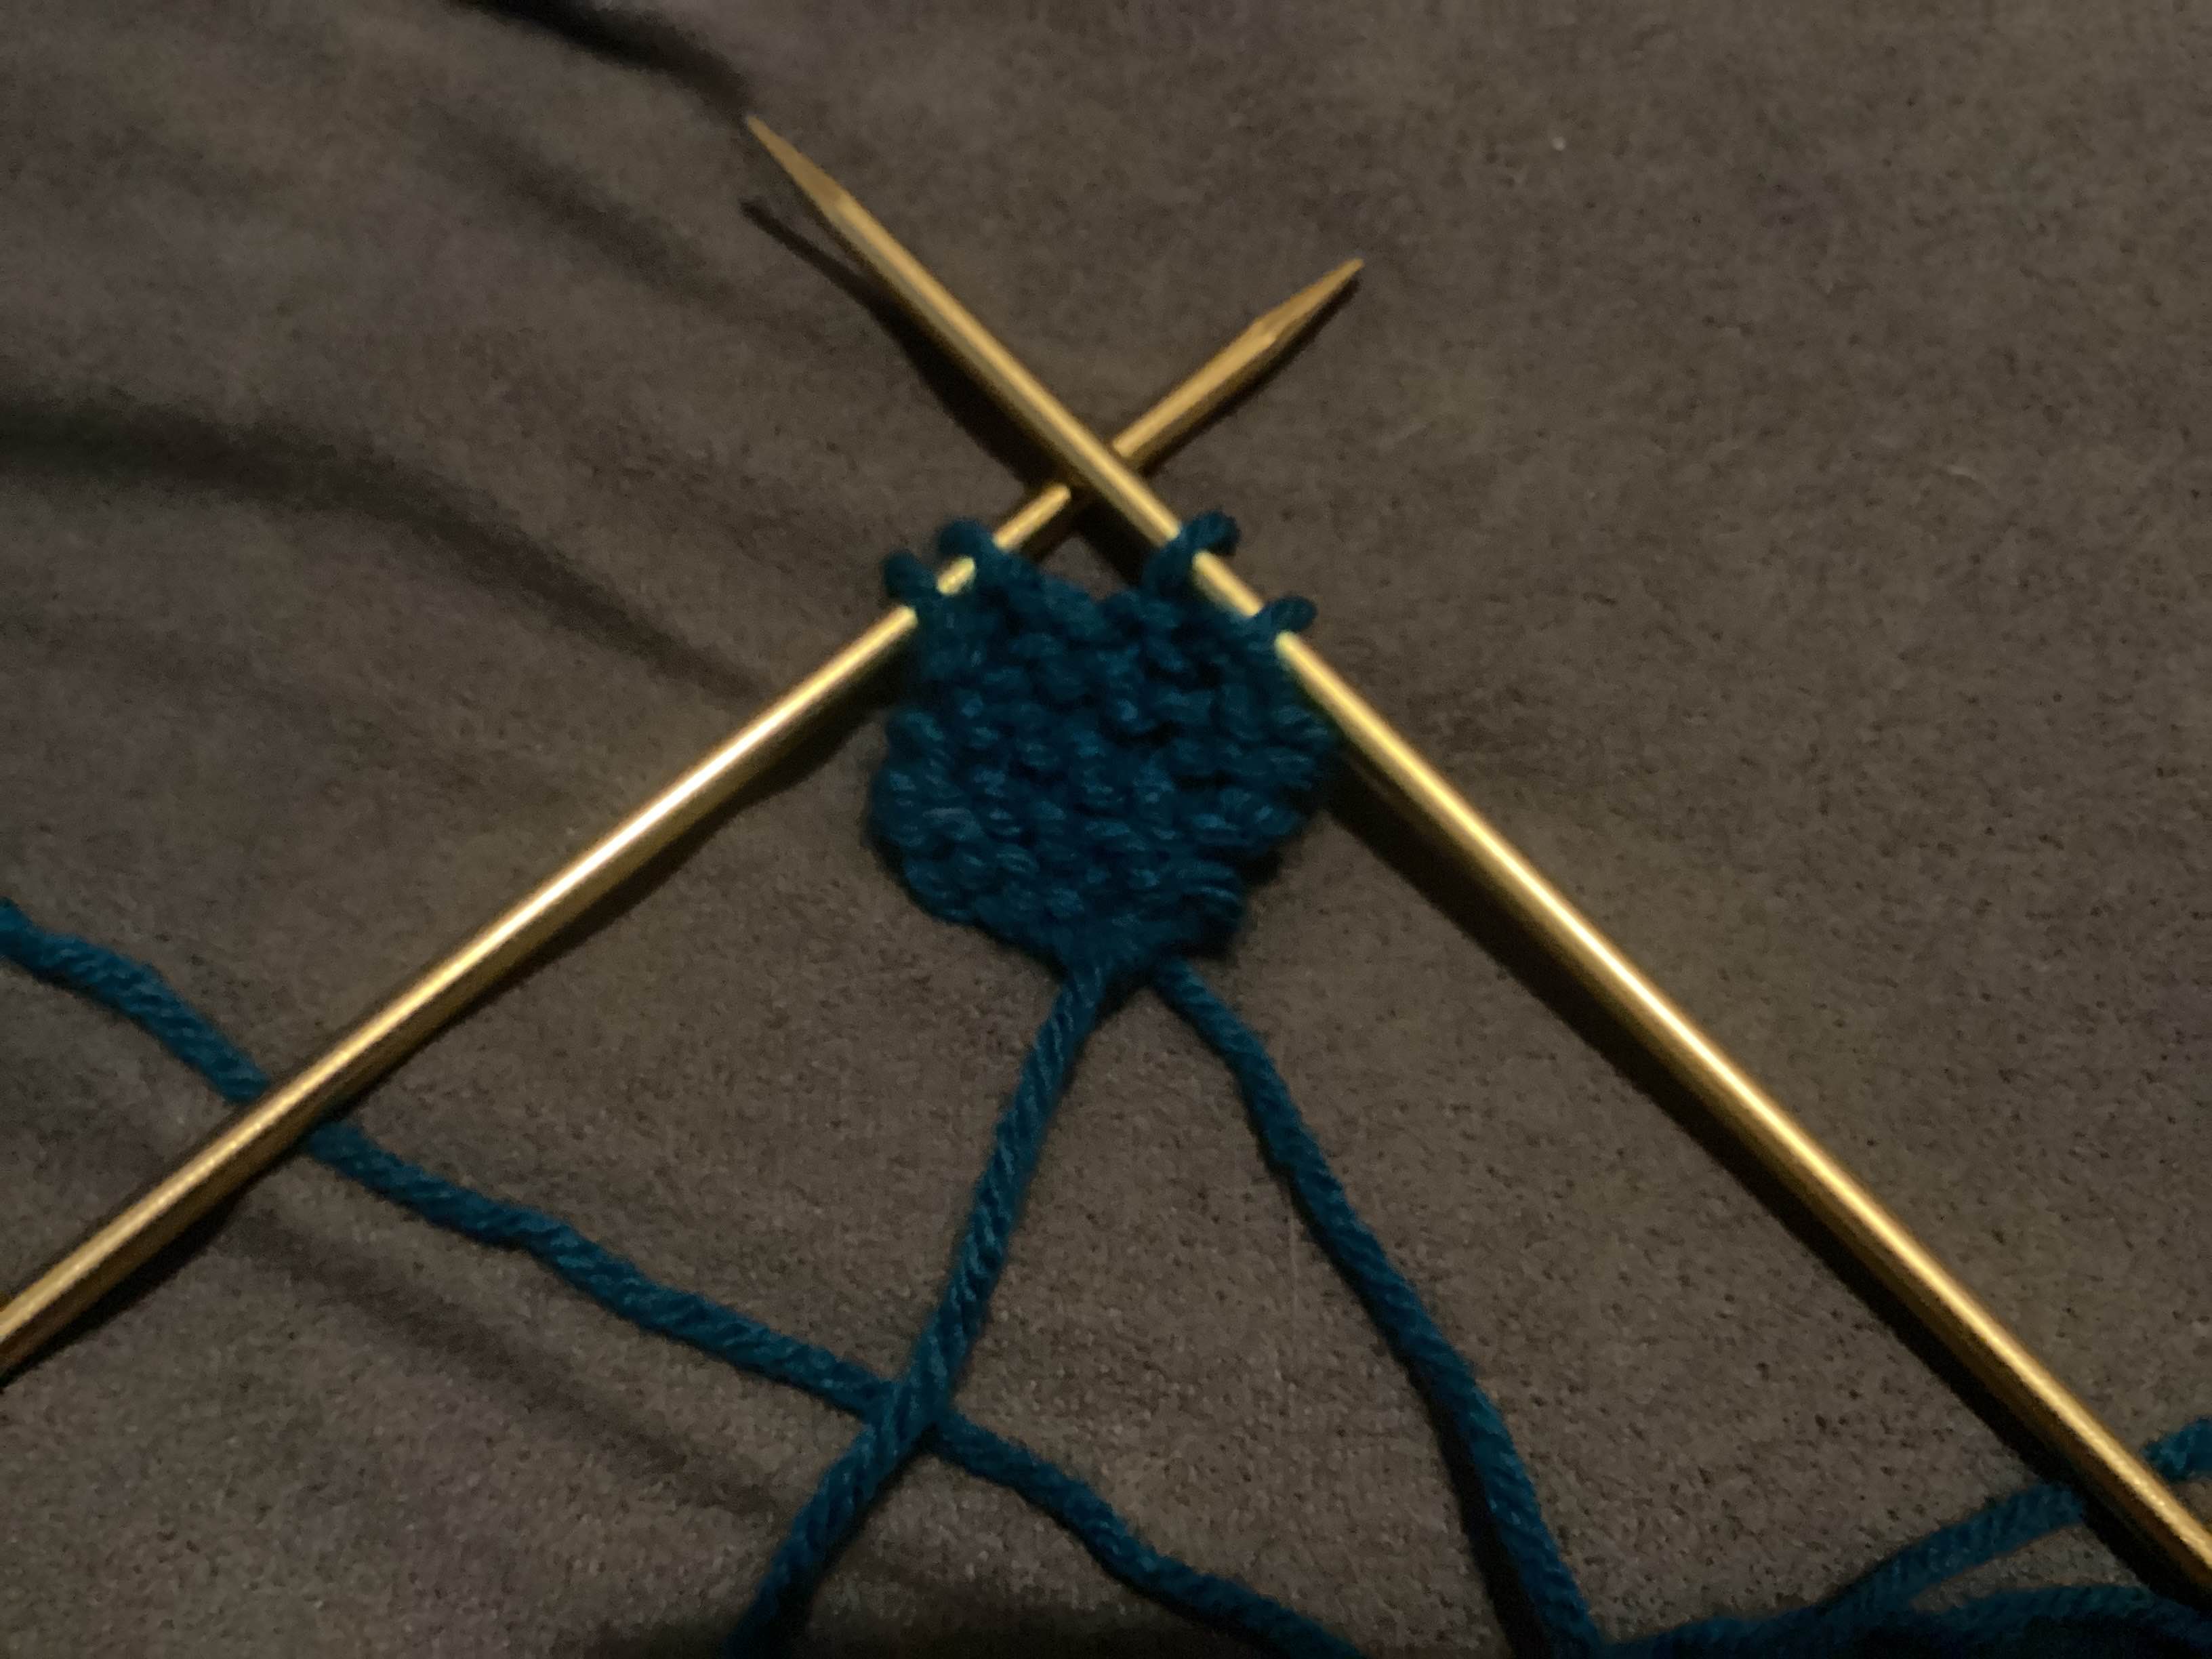
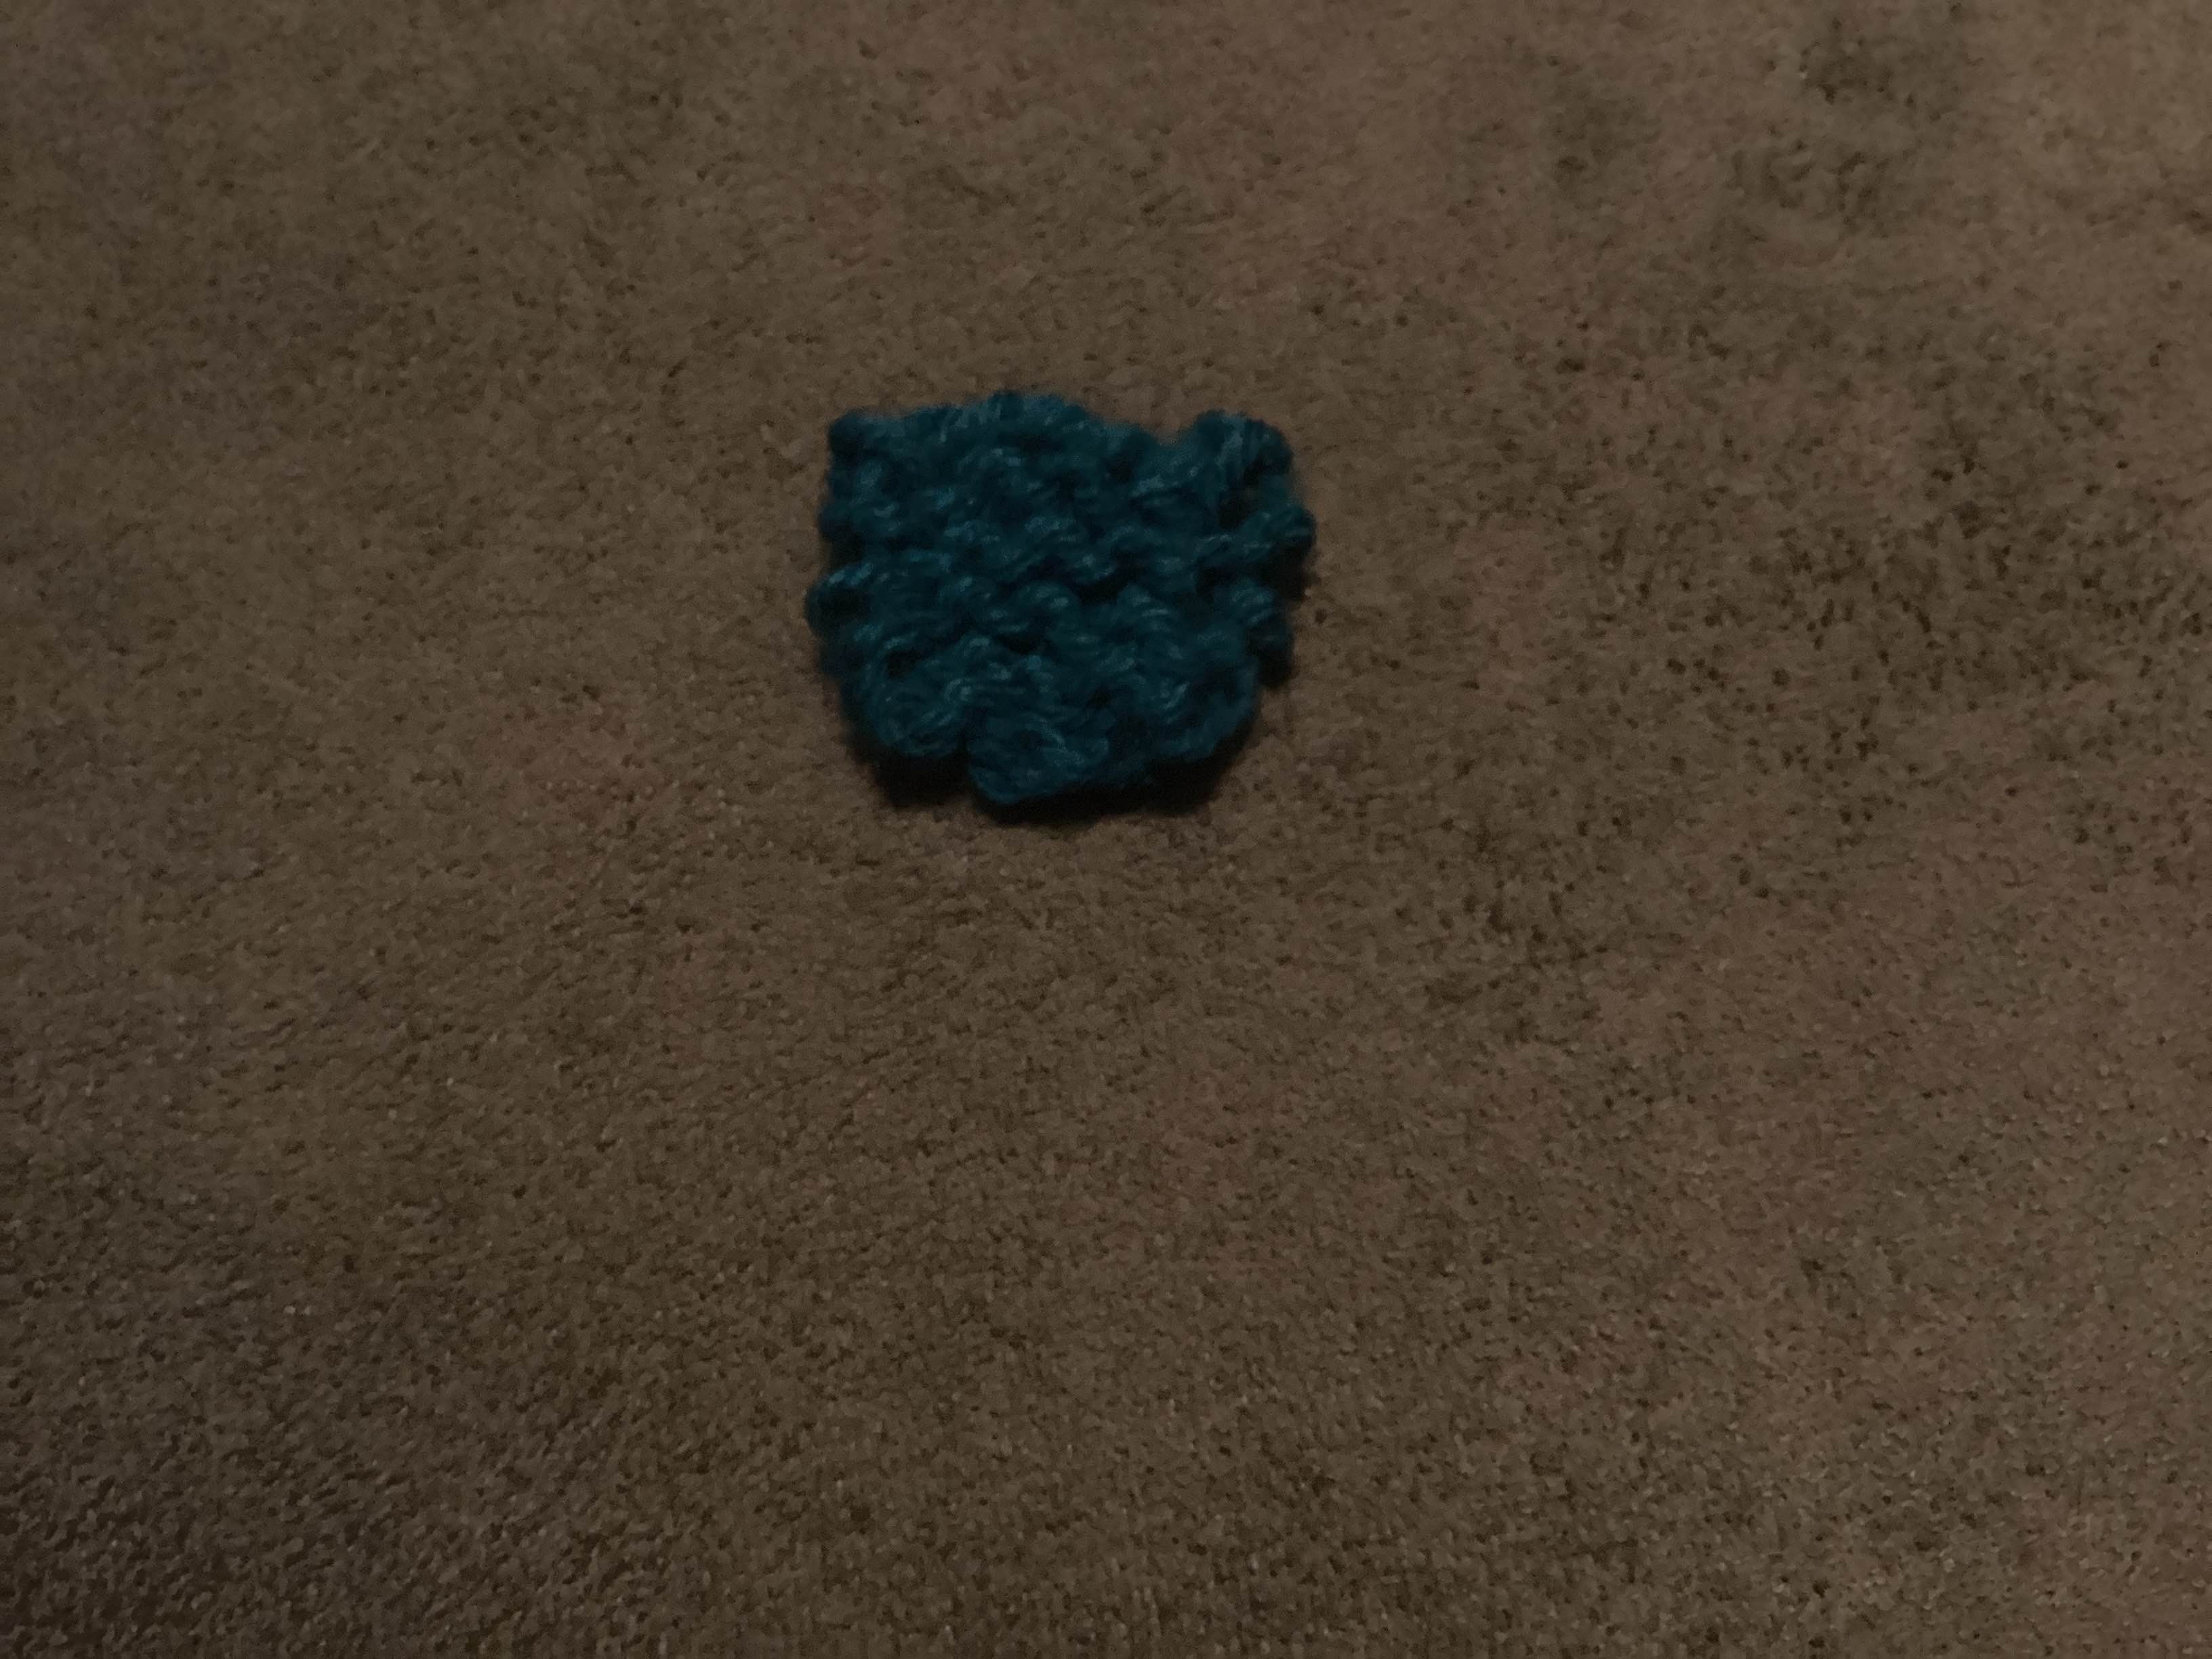
here is an example, of course you can go longer than this but it would take a while longer and this tutorial is suppposed to be basic so the example is only a small swatch
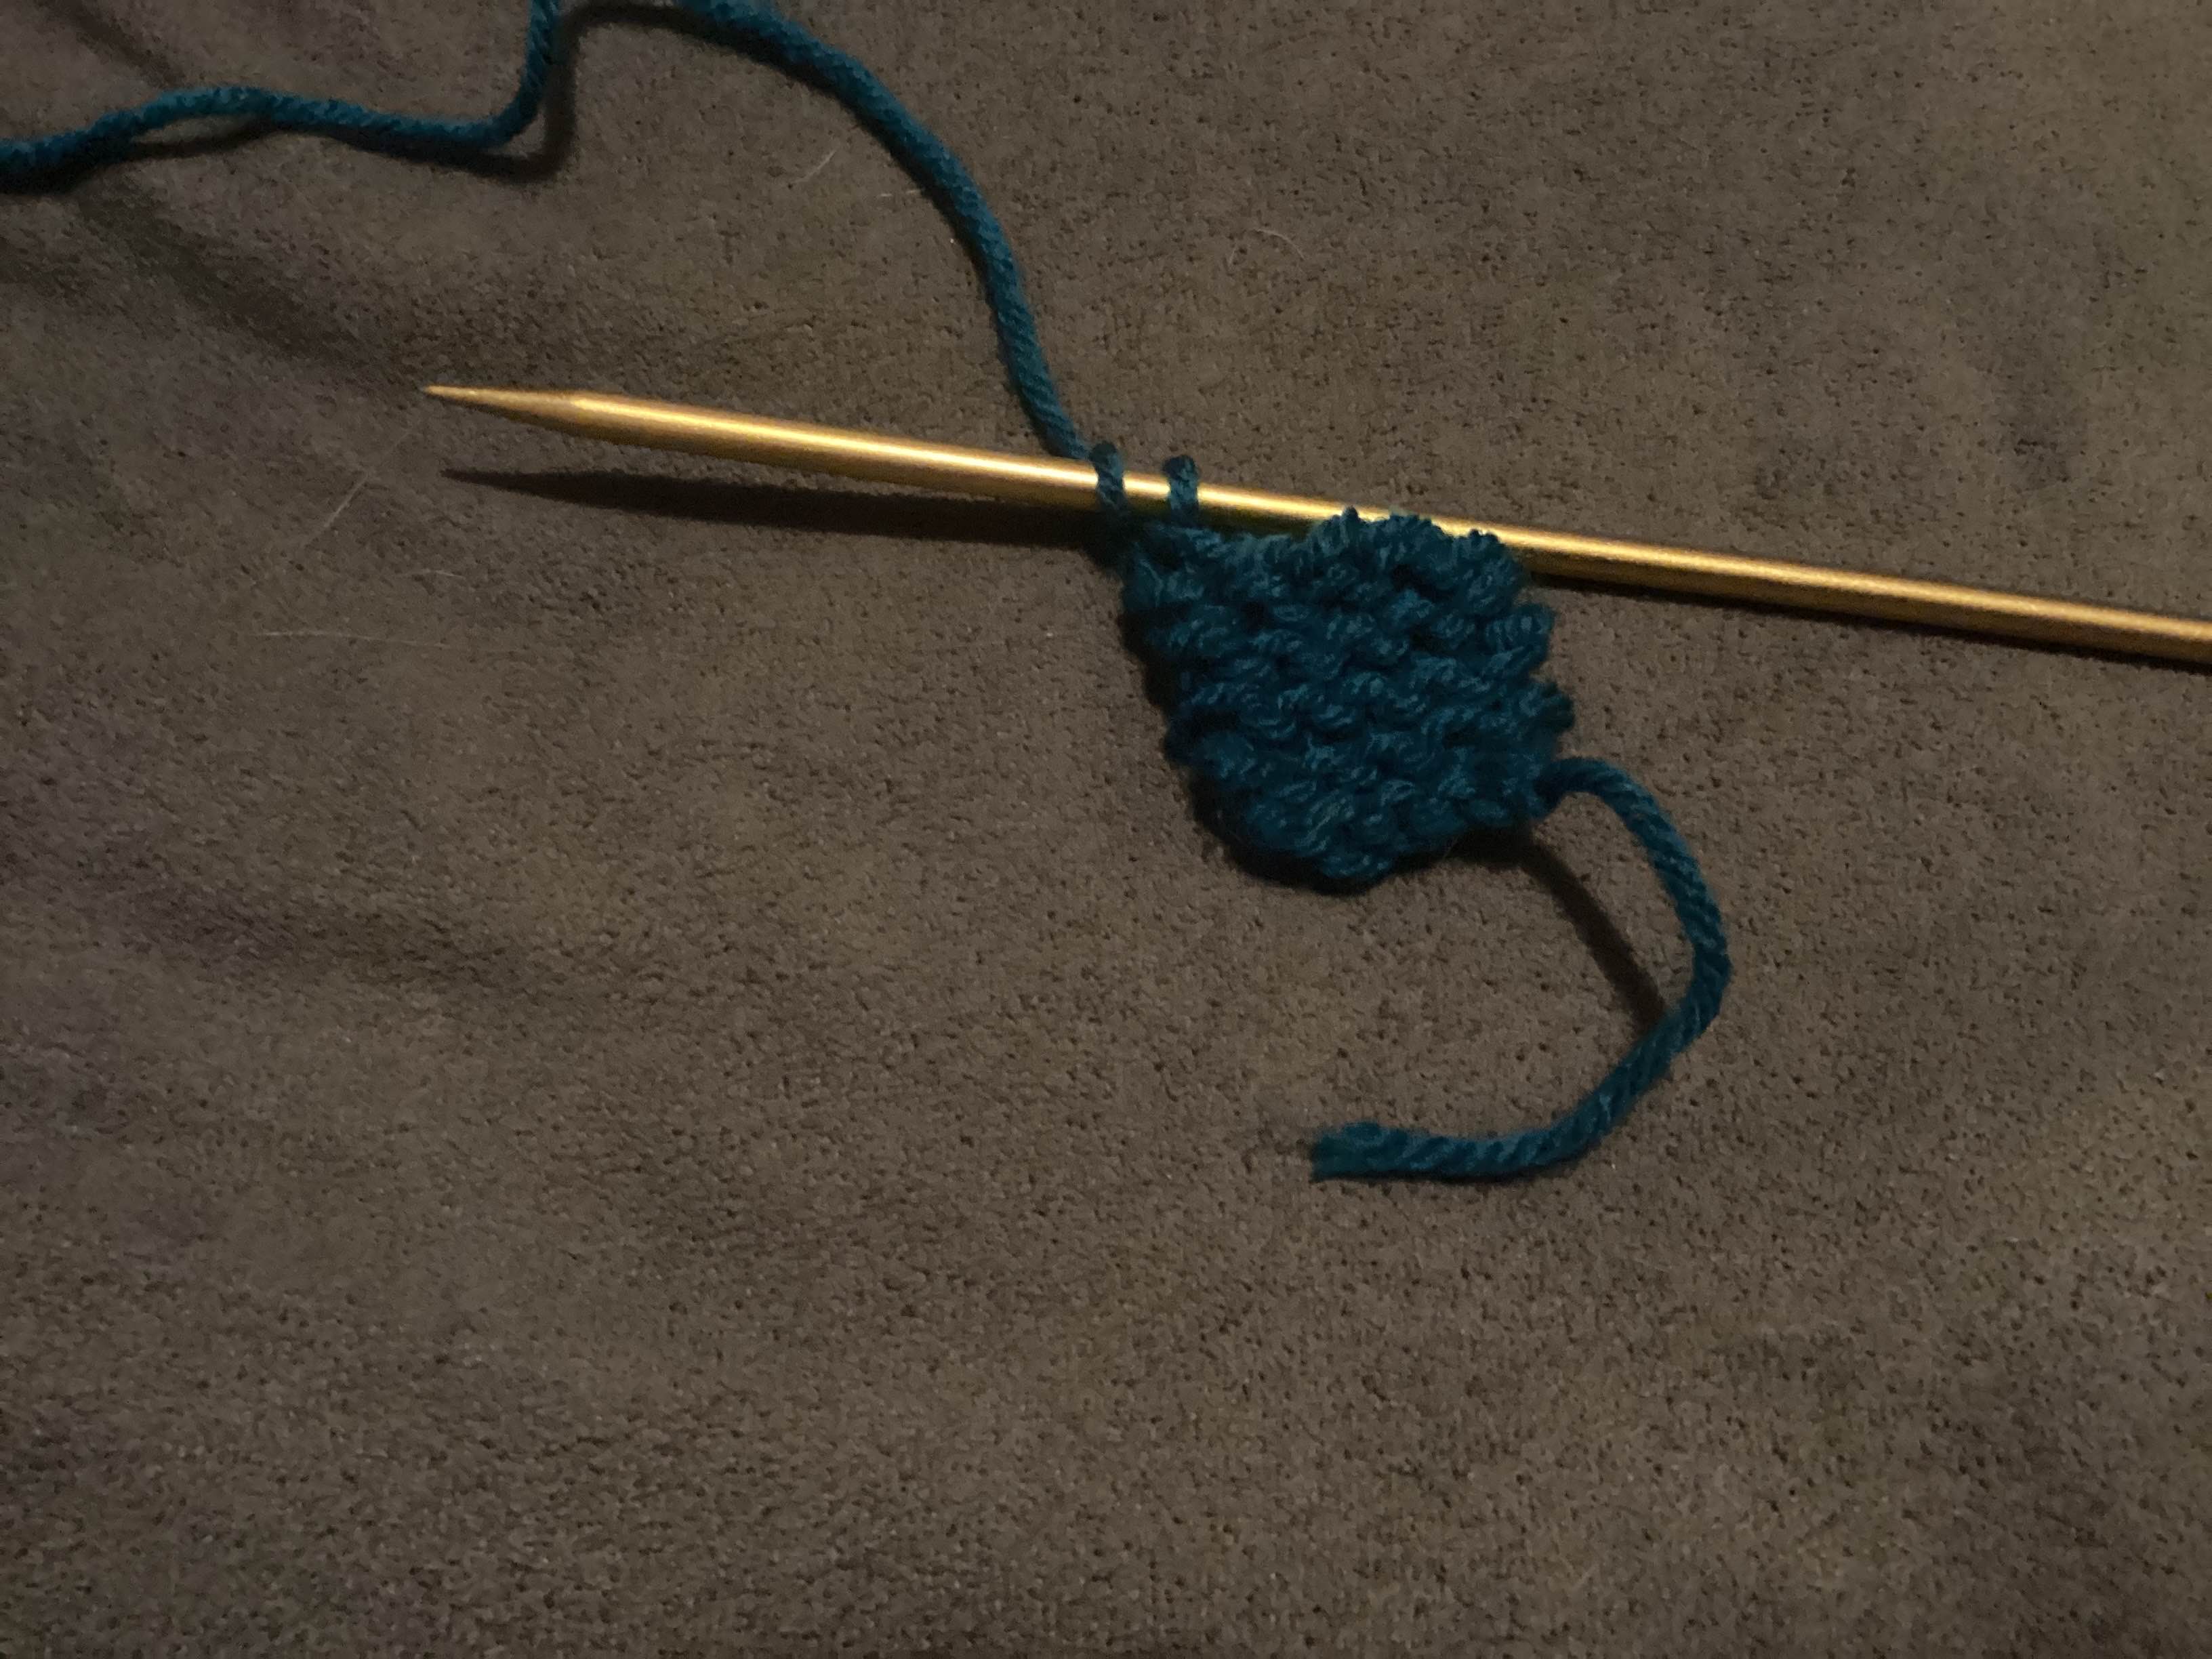
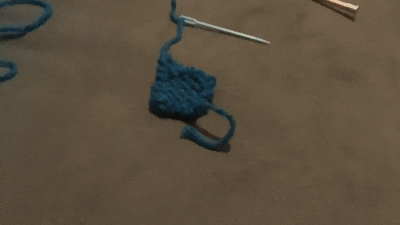
final step: casting off
- first knit 2 stitches onto the other needle
- second pull the first stitch over the second

- third knit another stitch onto the needle
- fourth repeat 2 and 3 untill there are no stitches left to add

- fifth add a new stitch and pull the previous over it
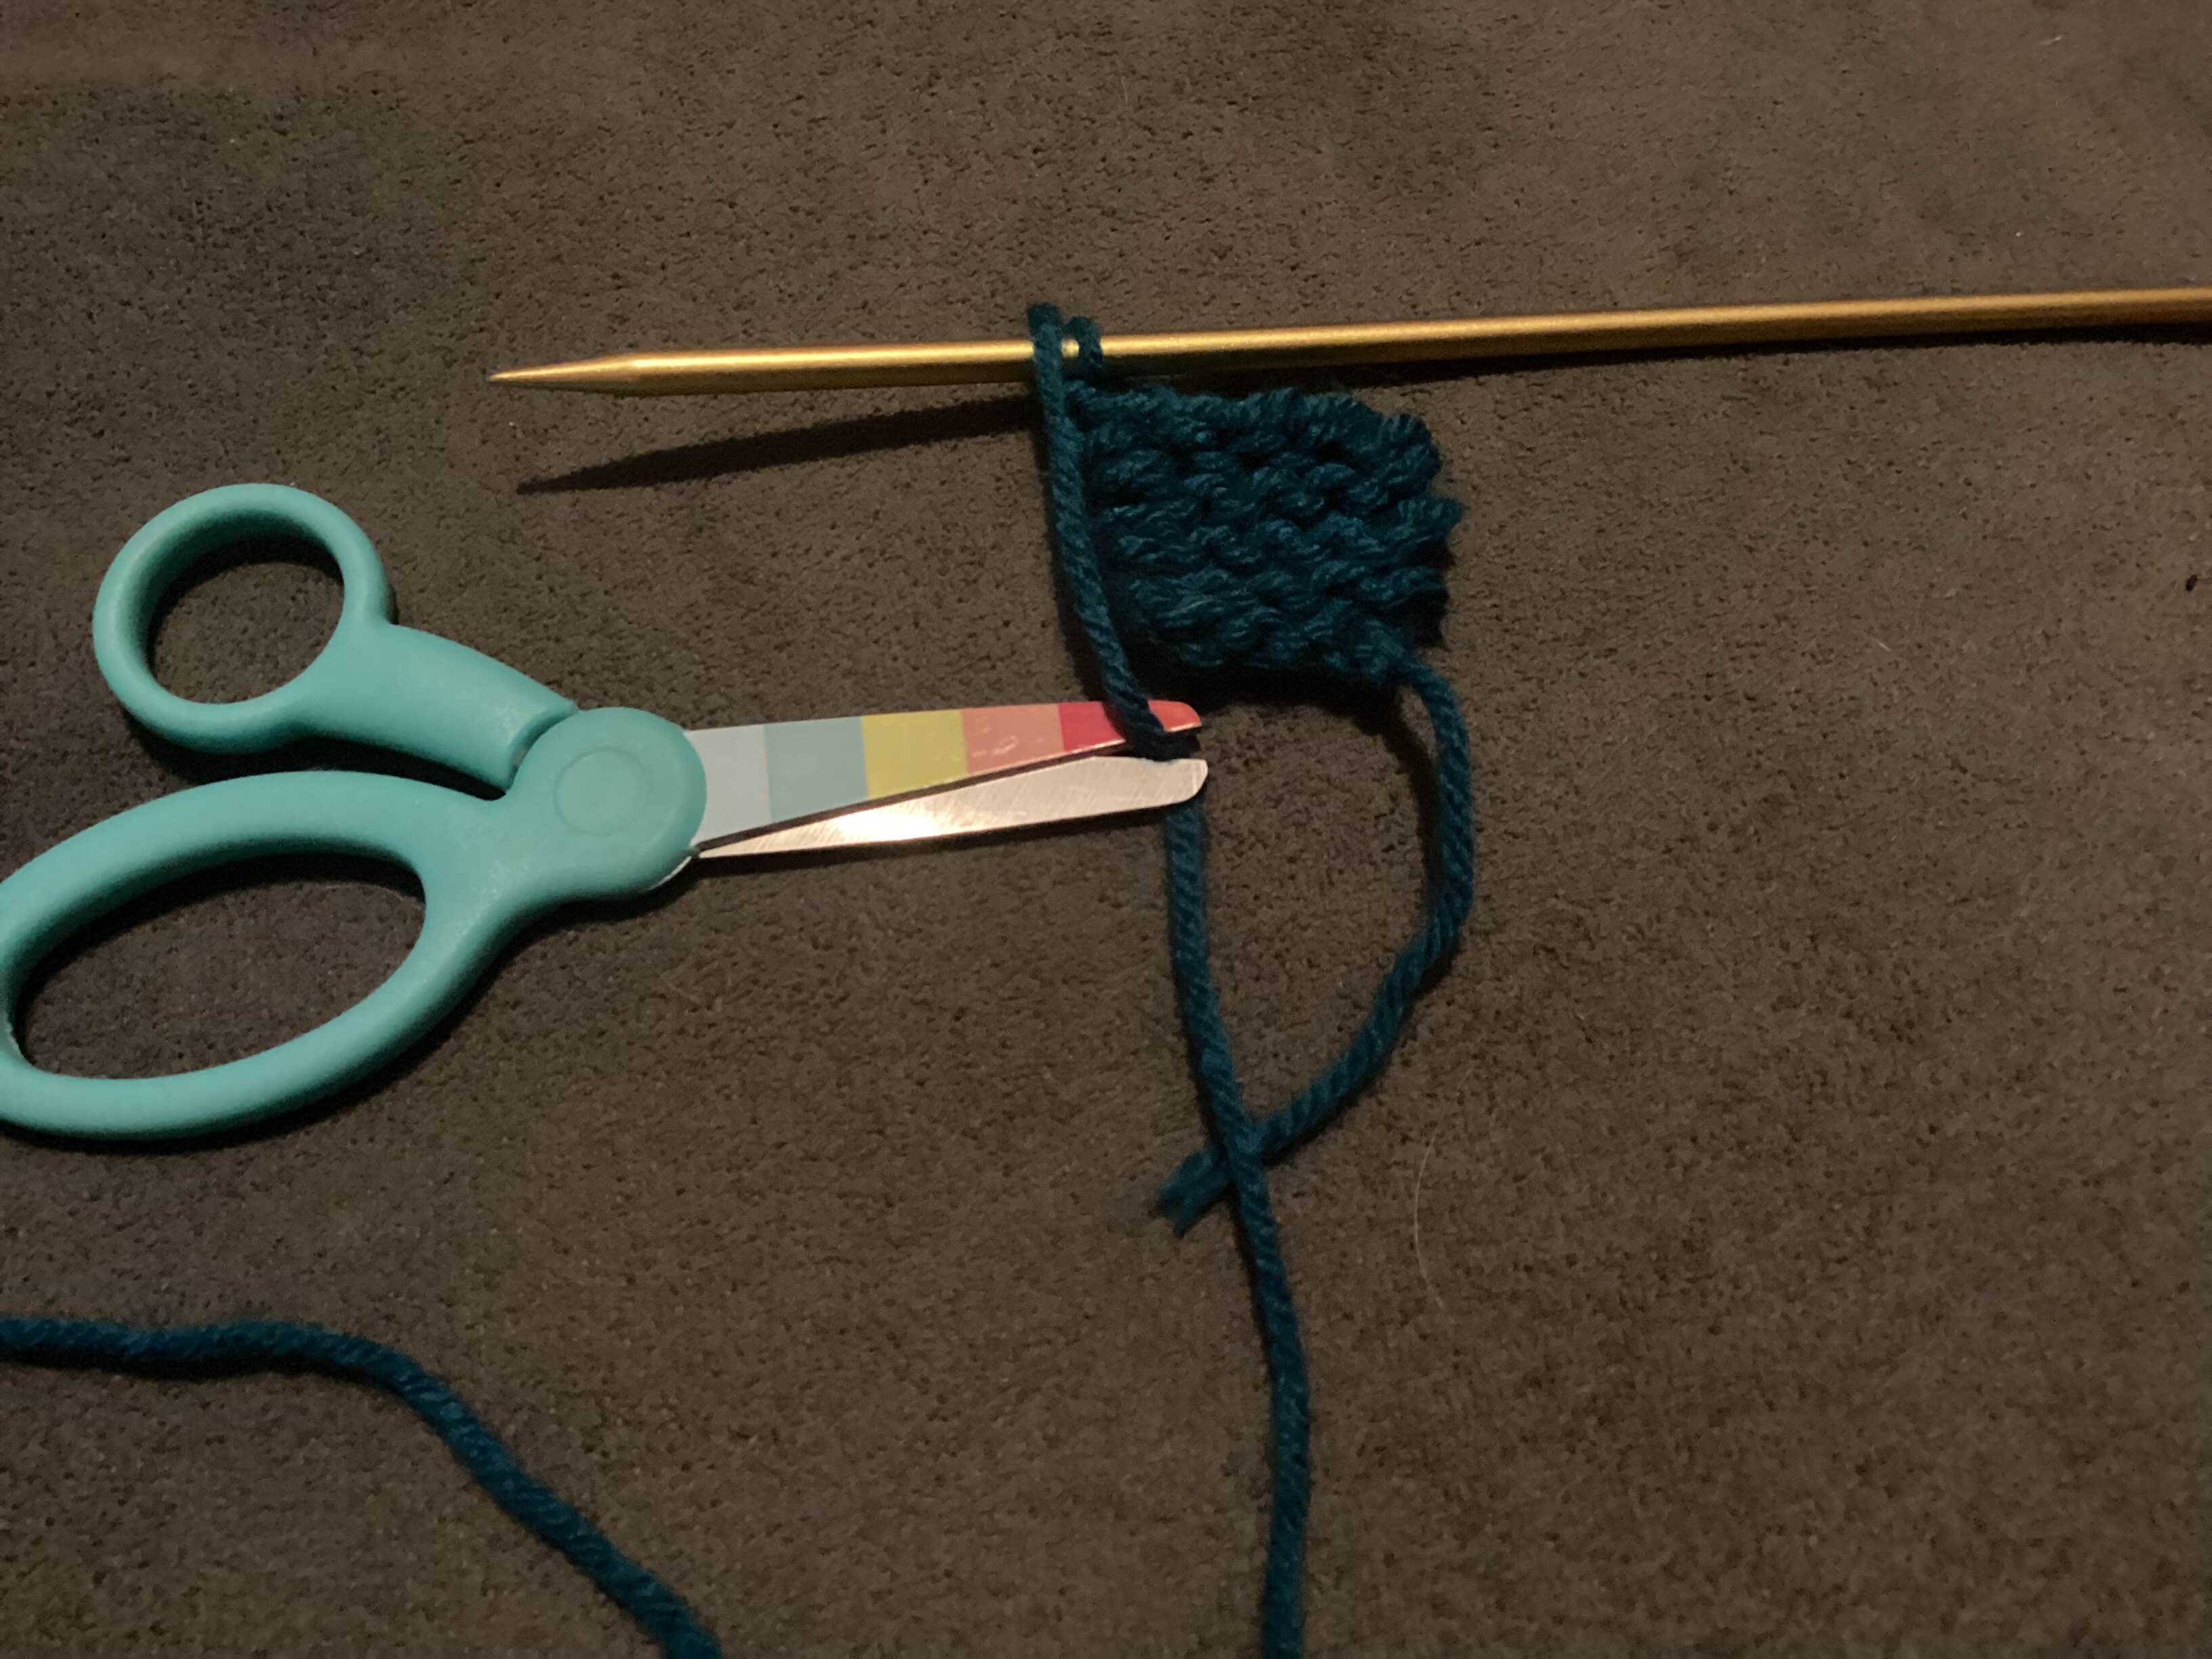
- sixth cut the string but if you have a proper sewing needle make sure you have enough string that's length matches the longest side(plus a little extra so you can tie the end to needle)of the knitted cloth if not then just cut it at a fingers length, then !pull! it off the needle,(also I made a mistake while taking the photo and didnt leave space for the needle so now I have to make the smallest knot ever to get it all to fit)
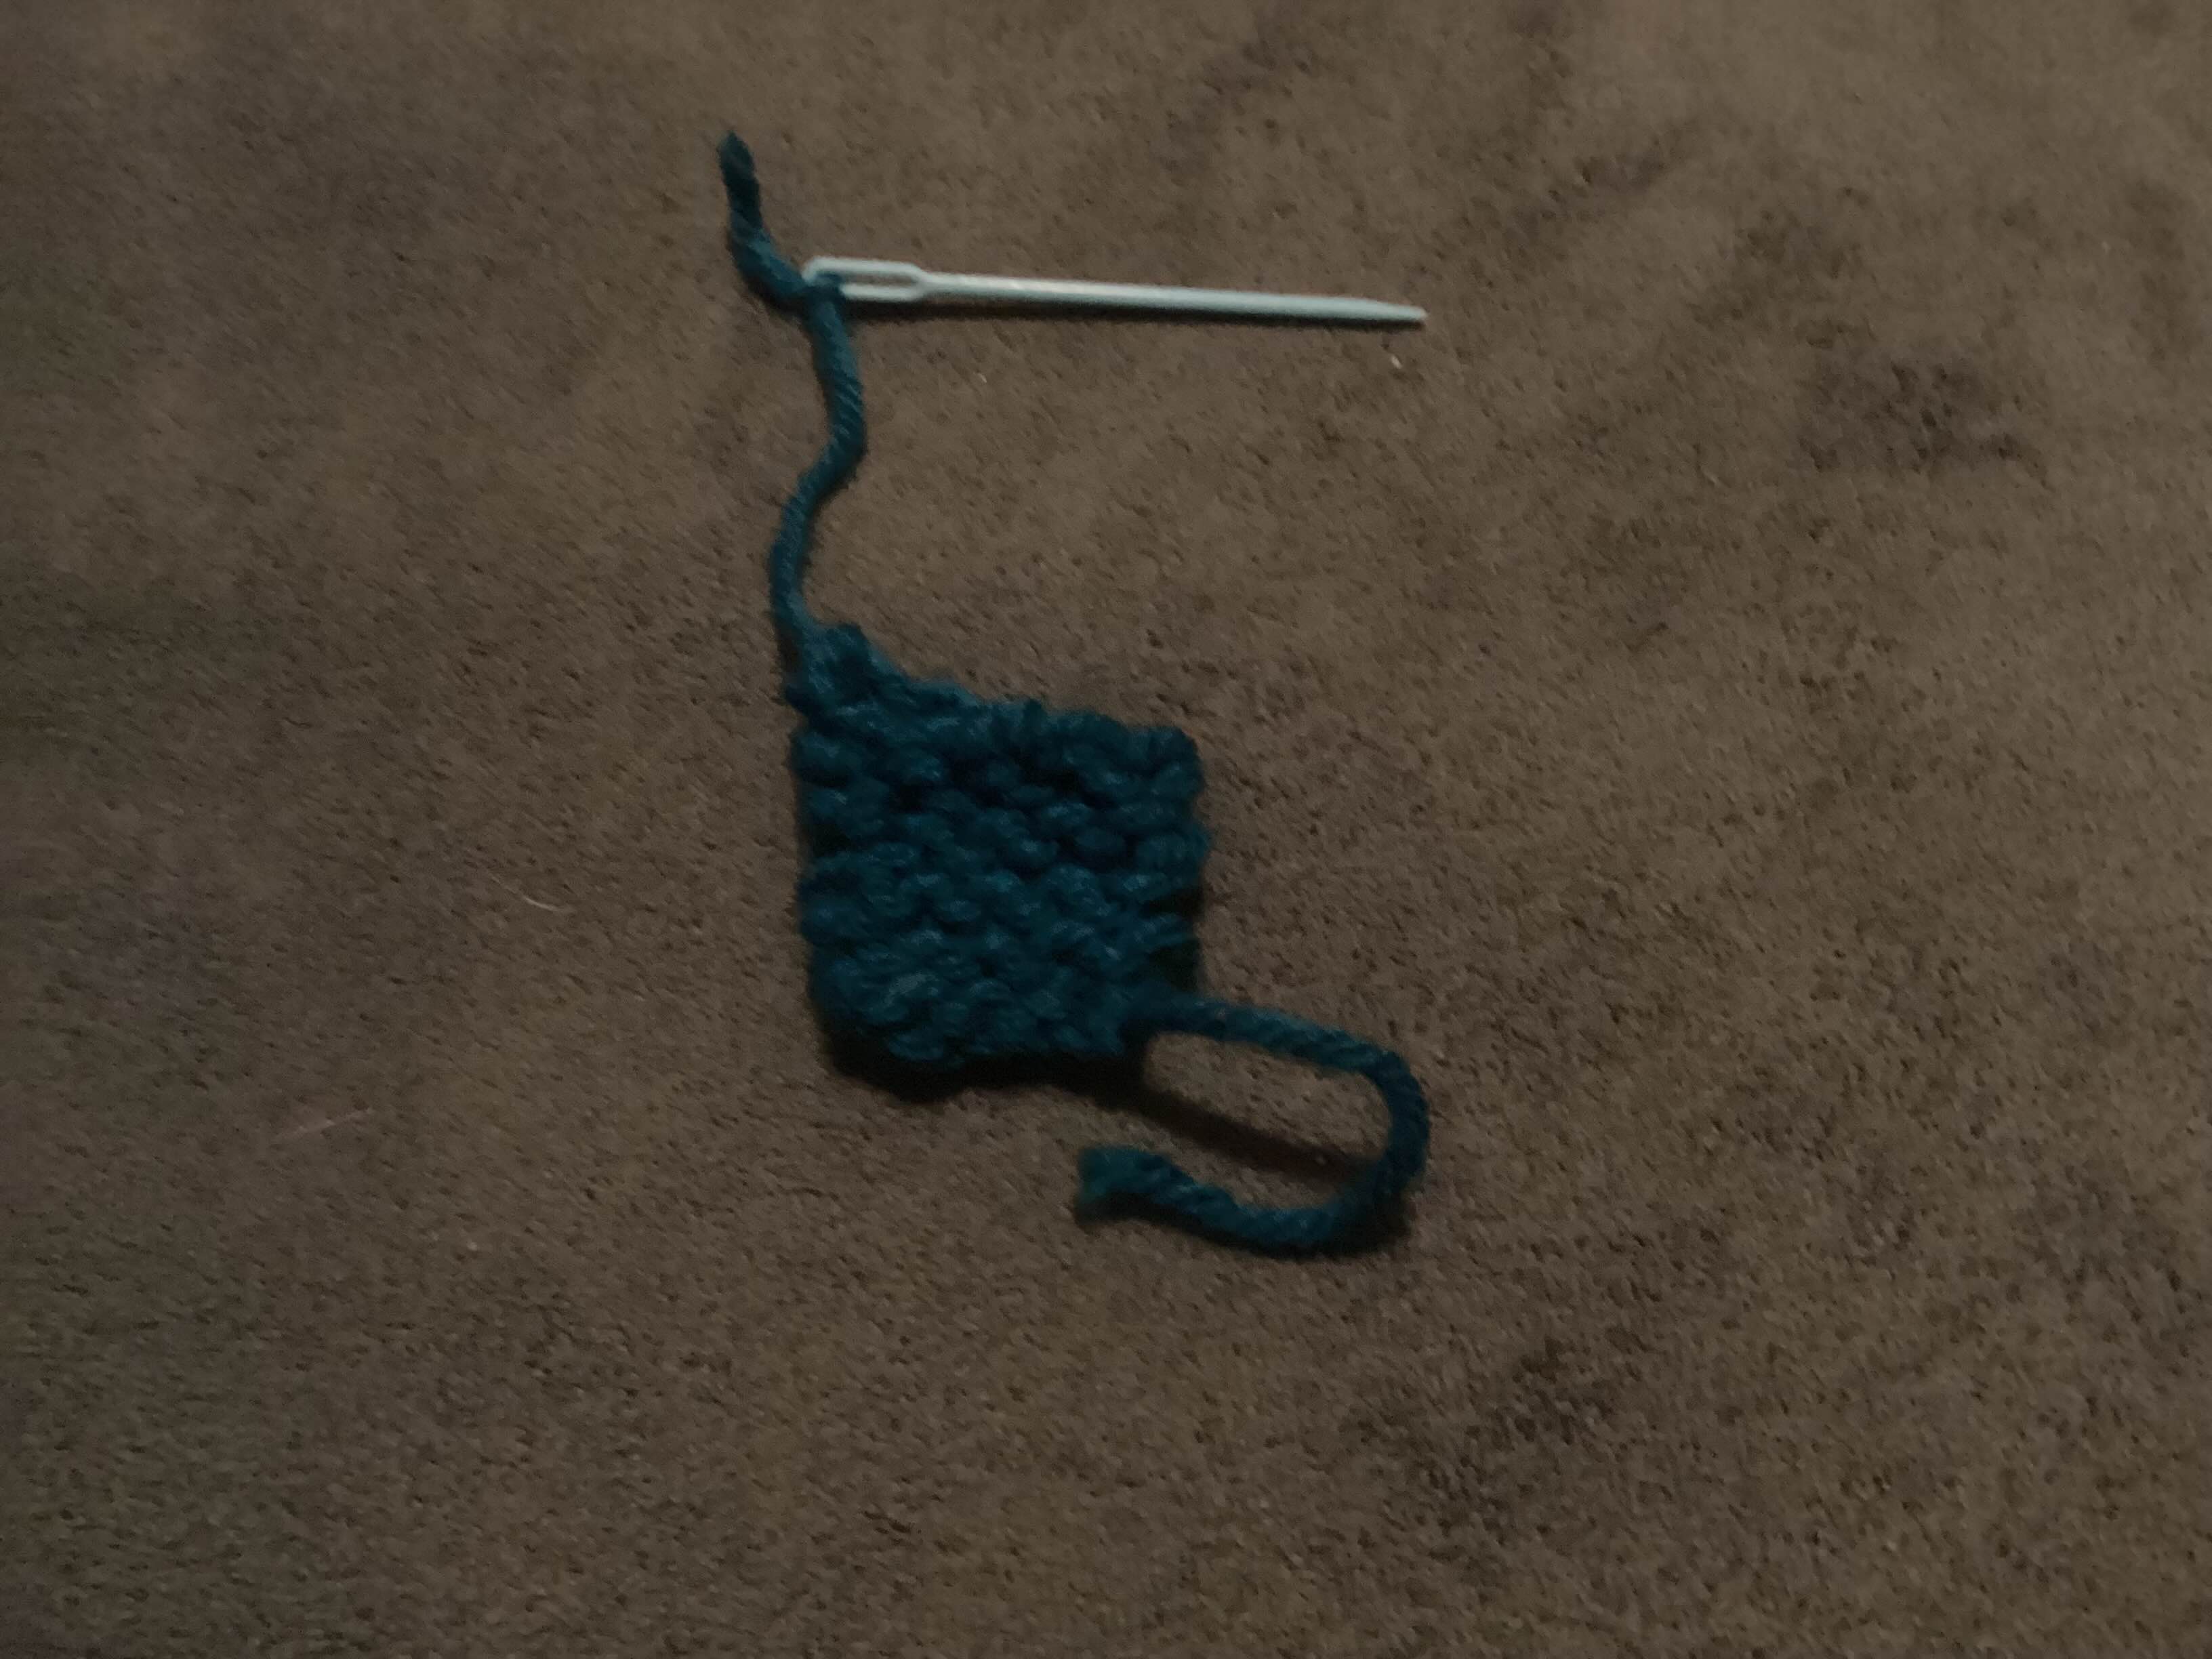
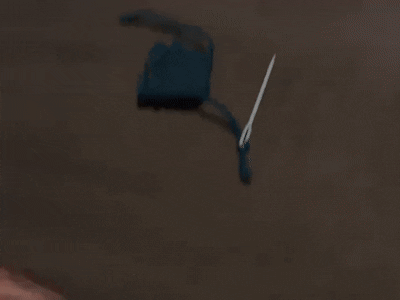
the end (final touches)
tie the sewing needle to the end..........................then thread the needle through,if it still sticks out continue along the edges or just cut it..........final product (your's may look different but thats okay)
 left handed ←
 right handed ←